

Hot Final Cut How-Tos


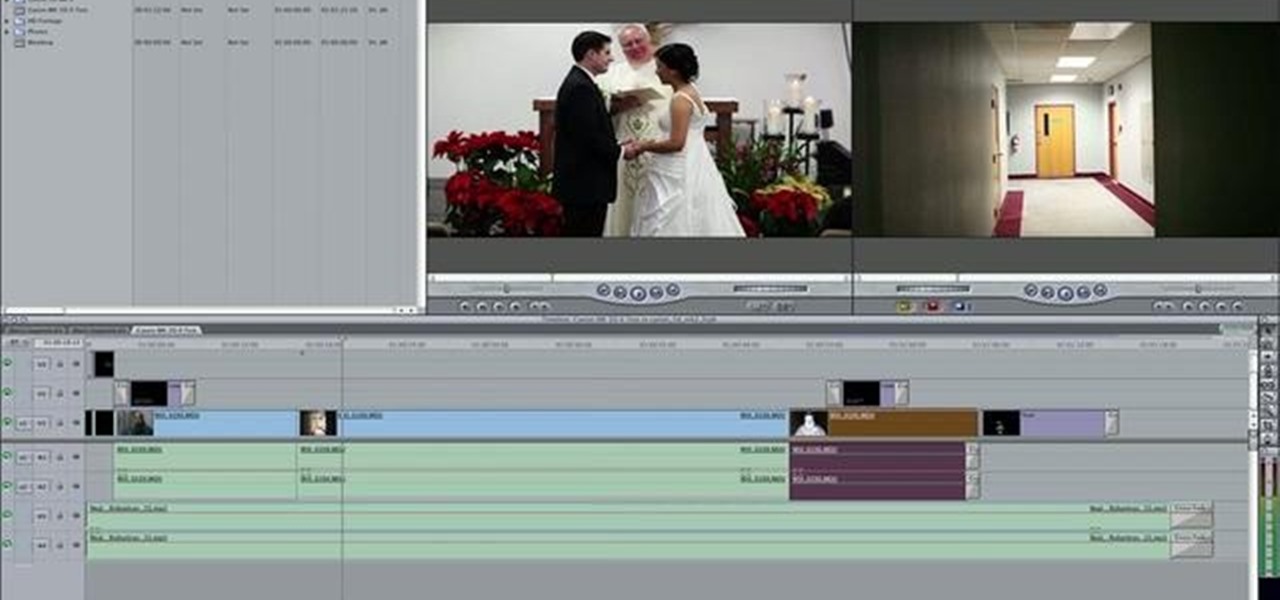
How To: Layer video clips in Final Cut Pro
In this how to video, you will learn how to layer videos in Final Cut Pro. First, open Final Cut Pro. Get your original clip and then put the clip that you want in the clip and drag it in over the top in the time line. Change it to image and wire frame. Grab the corner of the image and drag it down to the size you want. You can also move it around. Next, go to sequence and render it. Once that is done, change the selection back to image. Once you play the file, both clips will be playing. If ...
How To: Use traveling and luma mattes in Final Cut Pro
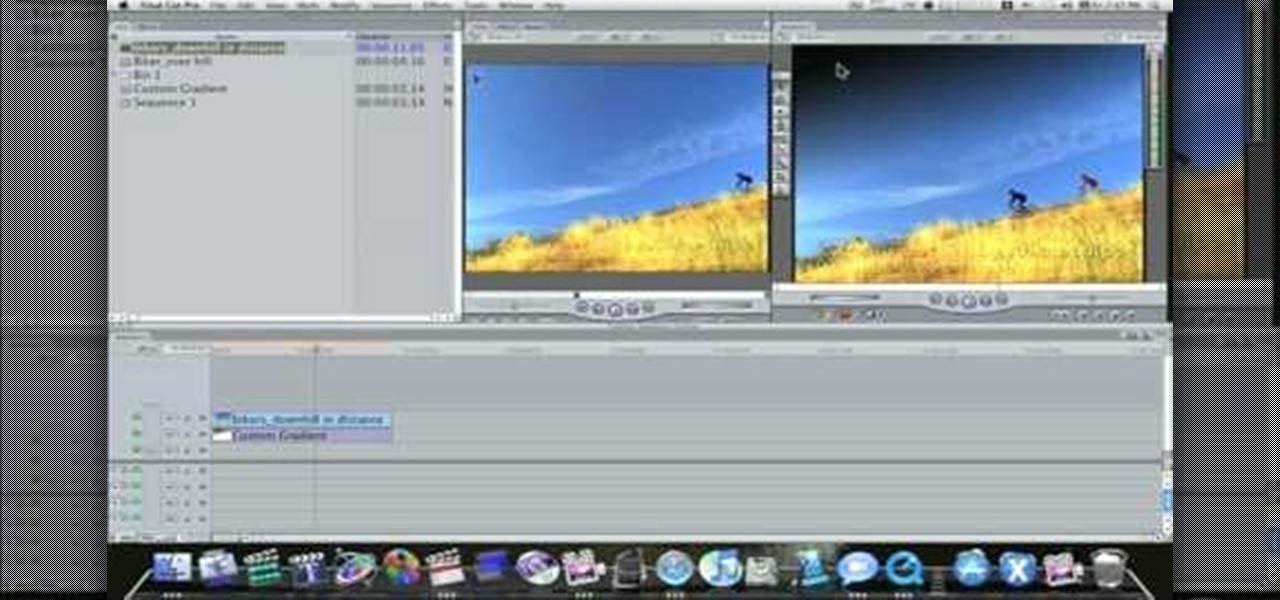
This video tutorial teaches you how to use Traveling Luma Matte in Final Cut Pro 6. To do this, you have to go to custom gradient. Open the "Find" option and type Custom Gradient or Gradient in the search field and click Find All. This will bring up a separate search window with the gradient effect you are looking for. This search window can be shown in your browser or removed from your window. The video then teaches how to use the Gradient effect. You can add the gradient effect to your vide...
How To: Import and render footage in Final Cut Pro
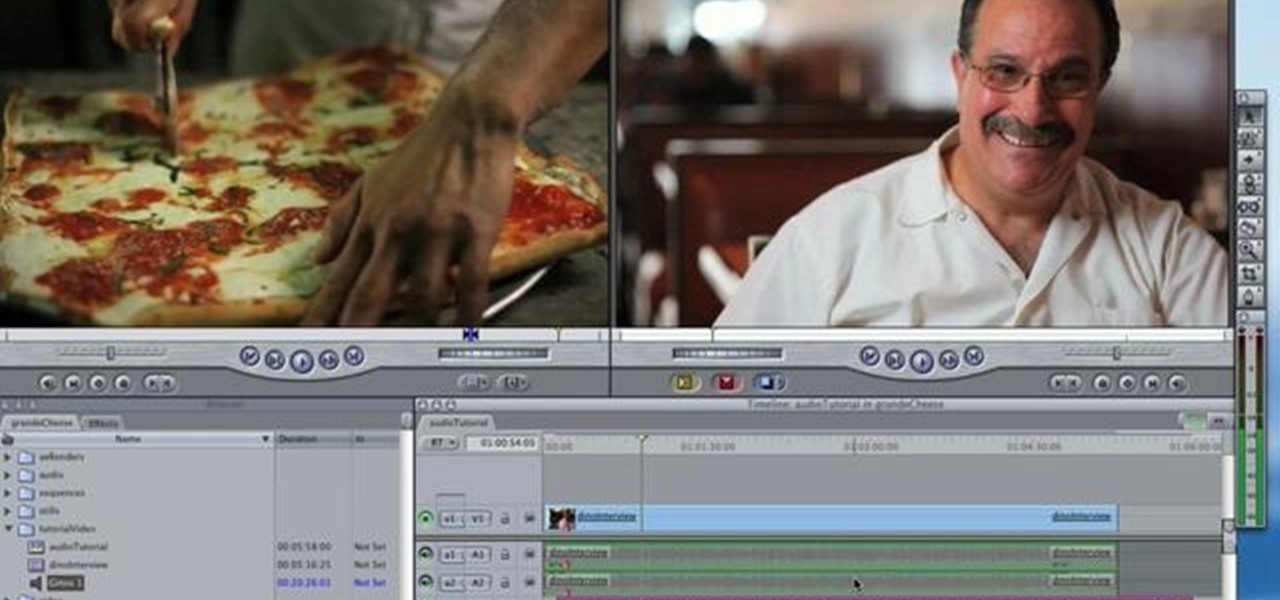
In this video tutorial, viewers learn how to import and render footage in Adobe Final Cut Pro. To import files, begin by going to File, select Import and click on Files. Then browse for the file and click Open. Now drag the clips into the time line to edit. To render the footage, begin by selecting it. Then click on Sequence, select Render Selection and click on Both. This video also shows viewers how to cut a clip and add effects. This video will benefit those viewers who are just beginning ...
How To: Keyframe when editing video in Apple's Final Cut Pro
This video tutorial teaches you the basics of Keyframing using Final Cut Pro. A picture is used in this tutorial. You can also use video or picture for this example. The video shows the keyframe button and the different keyframing tools. The video then teaches a basic keyframing concept of how to add a motion to the clip using keyframing. You can also add rotation effect in the keyframe. When you add a keyframe and move the clip from one place to another, it adds a path along which the clip o...

How To: Speed up, slow down or reverse a clip in Final Cut Pro
In this video tutorial, viewers learn how to altering clip speeds in Adobe Final Cut Pro. This will allow users to speed up, slow down or reverse a video clip. To slow down or speed up a clip, click on the clip in the time line and hold down the Control key. In the pop up menu, click on Speed. Users will be able to change the percentage of the speed or duration time. Users can also check Reverse to reverse the clip. This video will benefit those viewers who enjoy creating videos with Adobe Fi...

How To: Import music from iTunes into a Final Cut Pro project
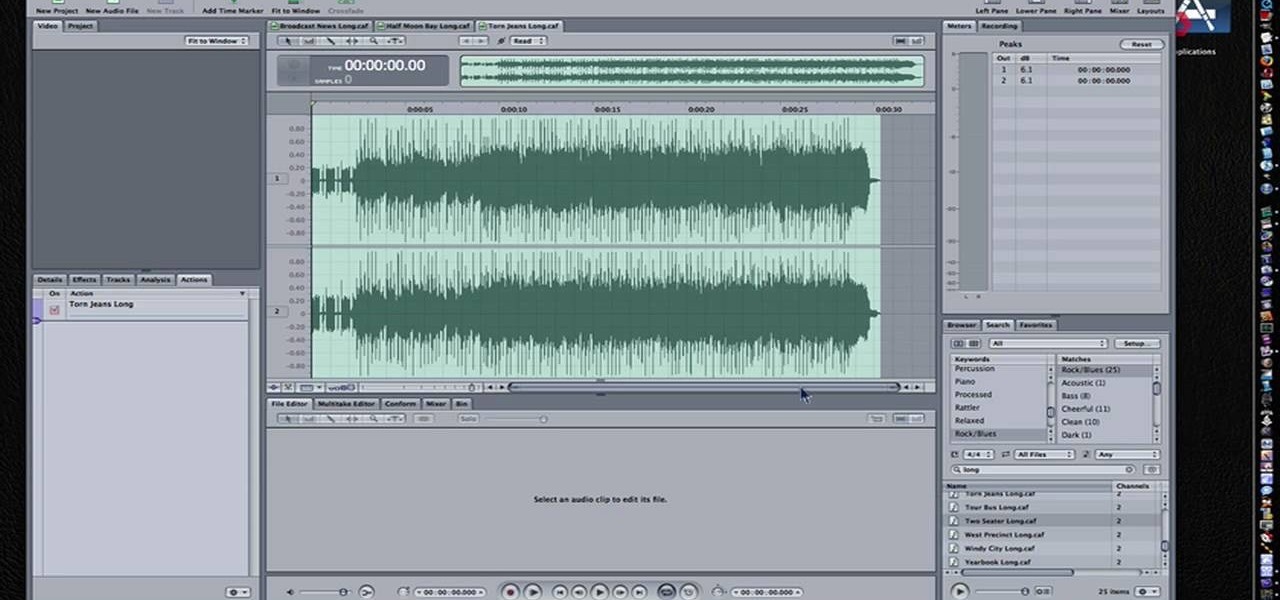
In this video tutorial, viewers learn how to import music from i-Tunes into a Adobe Final Cut Pro project. Begin by right-clicking the song and select Show in Finder. Then drag the song from the Finder into the Final Cut Pro program. Users will not be able to drag songs directly from i-Tunes to Final Cut Pro. If the song is not compatible with Final Cut Pro, right-click and select Show in Finder. Then right0click the song and select Open with Quick time player. Now click on File and select Ex...
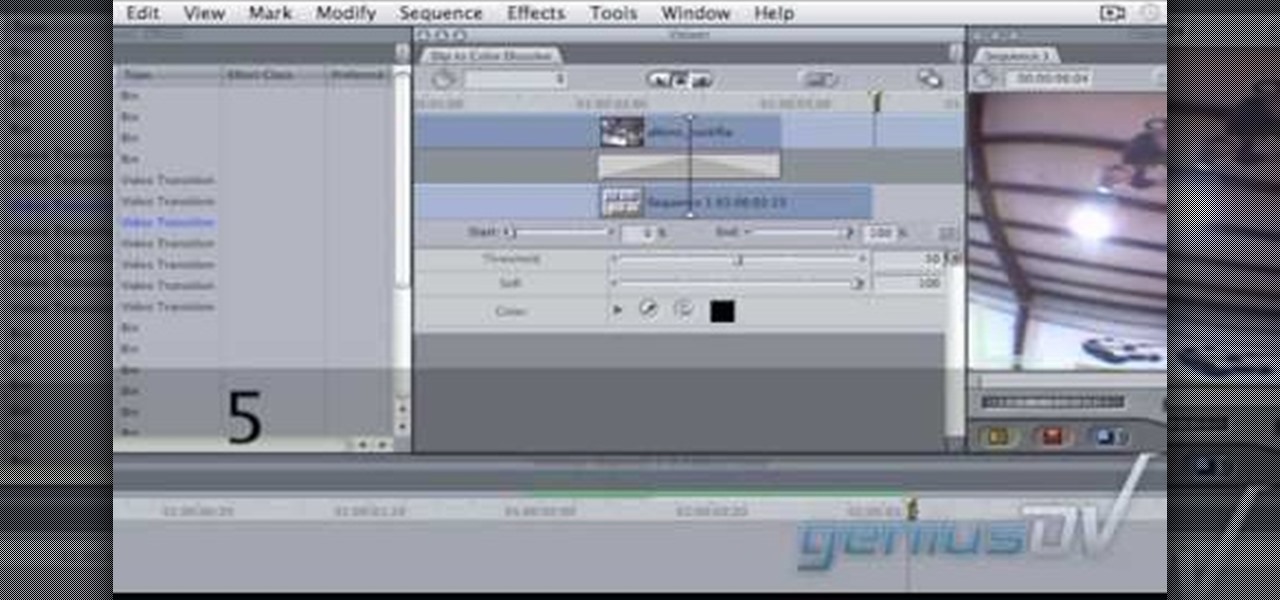
How To: Create a freeze-frame effect in Final Cut Pro
In this video tutorial, viewers learn how to create a freeze-frame effect in Adobe Final Cut Pro. Begin by placing the time line indicator to where you would like to place your freeze-frame. Press Shift and N to create the freeze-frame. The default user preference is 10 seconds. To change it, change the time and click on the insert button to splice the new freeze-frame time into the time line. Now click on the Effects tab and select the Dip to Color Dissolve under Video Transitions and Dissol...
How To: Make a 3D diamond sphere in Motion 3
Making a 3d sphere in Motion 3 can be tricky. Luckily, there's someone out there willing to help you. In this video, learn a show cut on creating a true three-dimensional sphere using cameras.
How To: Get a video ready for Final Cut Pro in iMovie 09
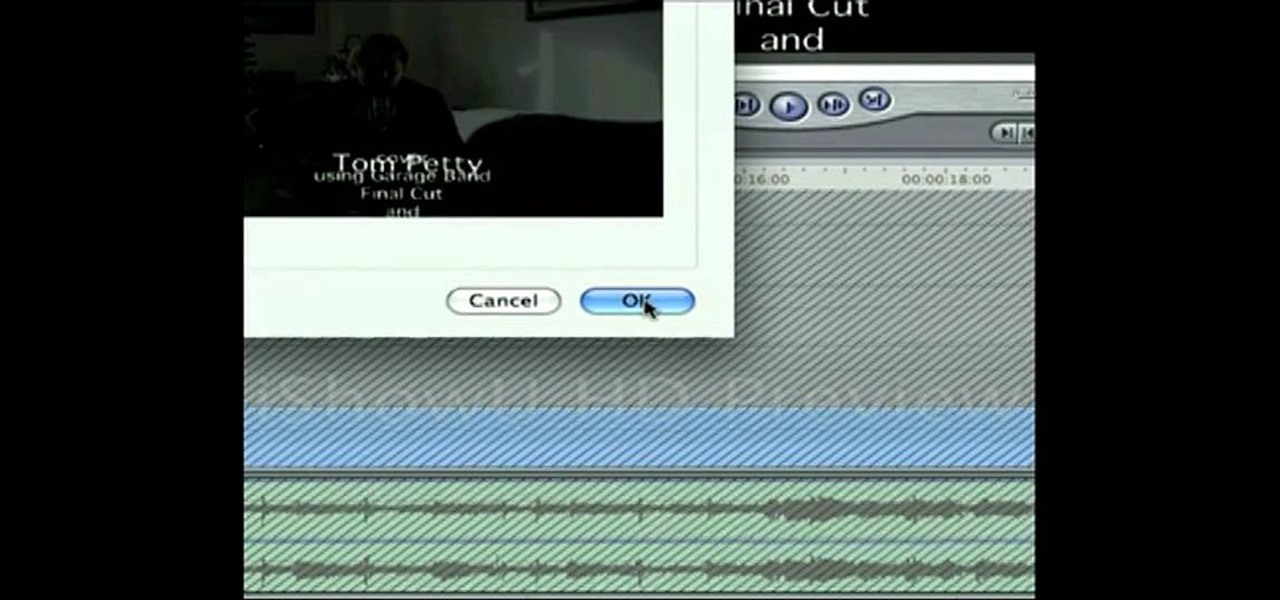
First, after recording the movie open it in IMovie. Make the "rough edits" (removing parts of videos you don't need, and making quick changes). Next, go to Share>Export Final Cut XML. Now an XML file should be on your desktop. Then open up Final Cut pro and edit the audio. If you are adding music, you can open soundtrack and find the music you want, then click and drag it into Final Cut, or send it to Final Cut. Then, make the edits you want to your video until you have it polished into a fin...

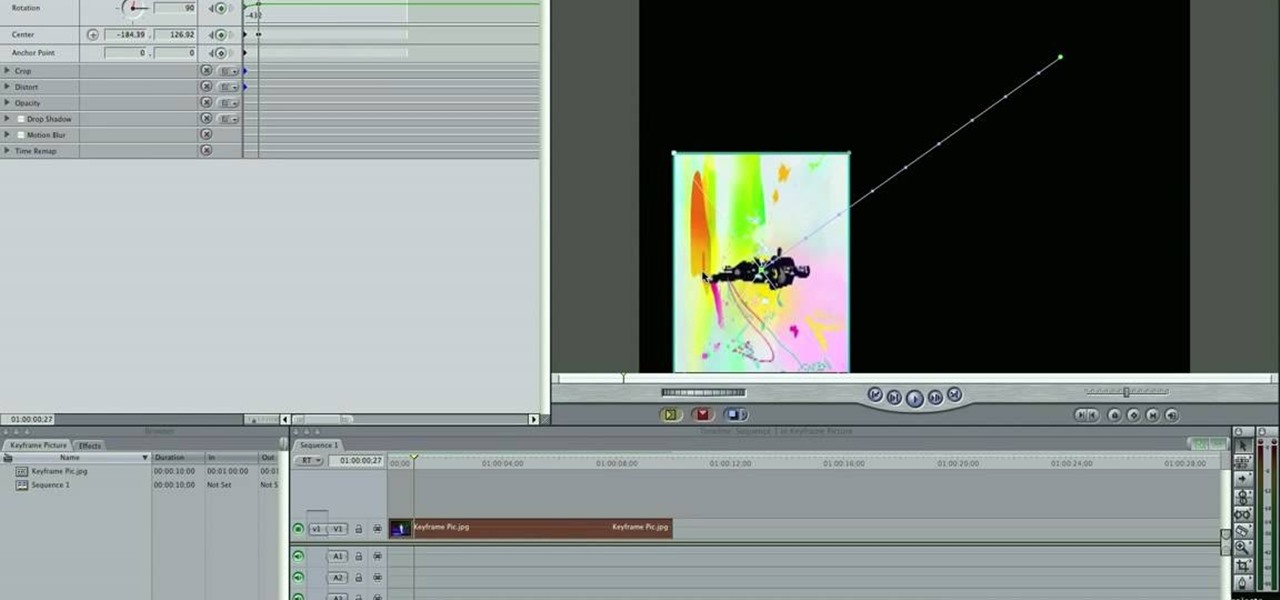
How To: Add movement to your still images in Final Cut Pro
In this how-to video, you will learn how to add movement to still images using Final Cut Pro. Click on the view mode button in the canvas window. Set the mode to Image and Wire Frame. Move the canvas play head to the clip you would like to affect, and select the time line. To control the scale, grab the corner to shrink or enlarge. Reposition the clip by clicking on the image and dragging it around. To rotate the clip, move the mouse over the edge and click and drag it to spin it. Select the ...
How To: Make a lightsaber image using final cut express
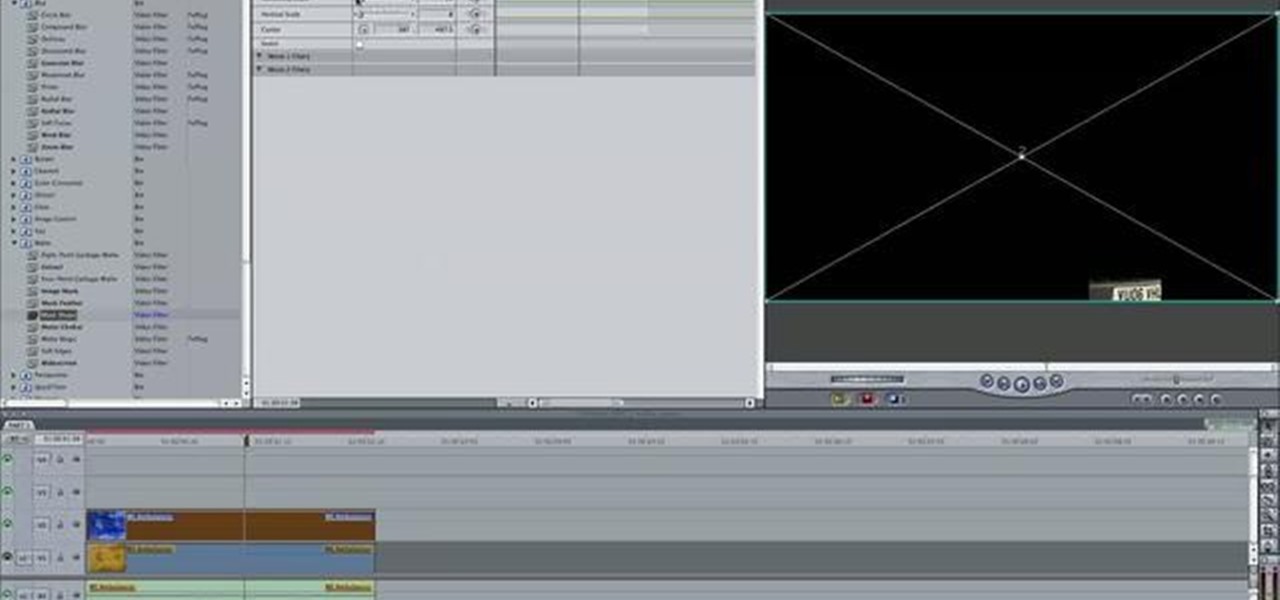
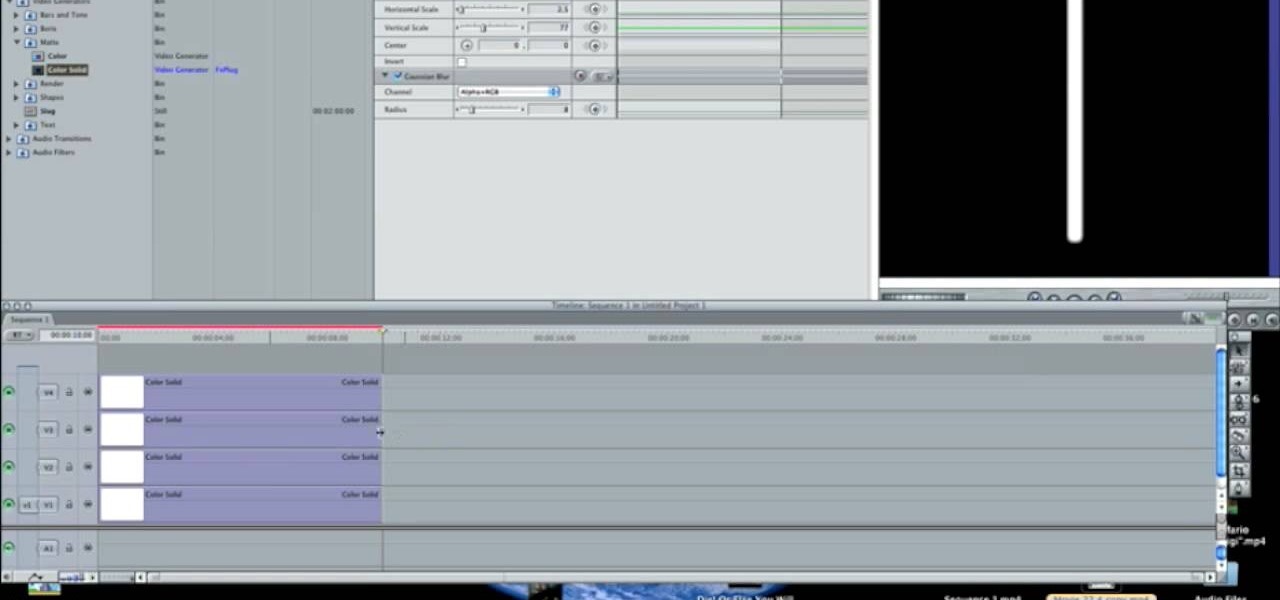
In this how-to video, you will learn how to make a light saber or similar image in the Final Cut Express program. First, go to the effects tab and go to video generators and select color solid. Drag this to the viewer. Go to the control tab and select the blue color. Now drag it to the time line. Double effect the color solid and go to mask shape. Select filters and change the effects settings to 2.5 horizontal scale. For the vertical scale, select 75 to 85. Go to the effects, video effects, ...
How To: Apply the Film Look effect in Final Cut Pro
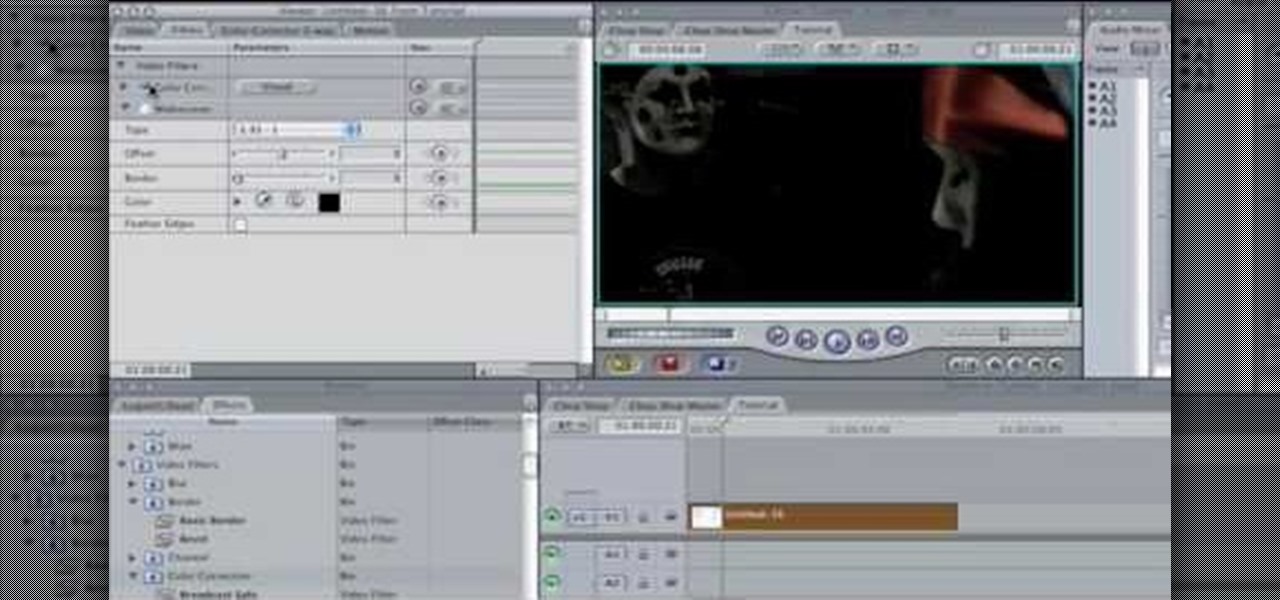
In this Software video tutorial you will learn how to apply the Film Look effect in Final Cut Pro. This is an advanced technique. This essentially takes a video and makes it look like a film. Select the video clip that you want to work with. Then select the ‘color corrector 3 way’ filter. This is under the ‘Effects’ tab. The key to any color correction is to crush the blacks. So, decrease the blacks with the slider. Then increase the whites as films have higher white level. Depending on the s...

How To: Create still image effects in Final Cut Express
IShowU and Shiny White Box demonstrate how to create still image effects in Final Cut Express. First, place your scroll bar in the front of the timeline and click on the clip so that it is selected. Then, click on the motion tab in the preview window. Hit the keyframe button in the scale option. Create a keyframe also where you'd like the effect to stop on the clip. Adjust the line. When you now play the clip, the image's size will be adjusted as you have designated. You can use the same tech...
How To: Export video with 720p quality in Final Cut Pro
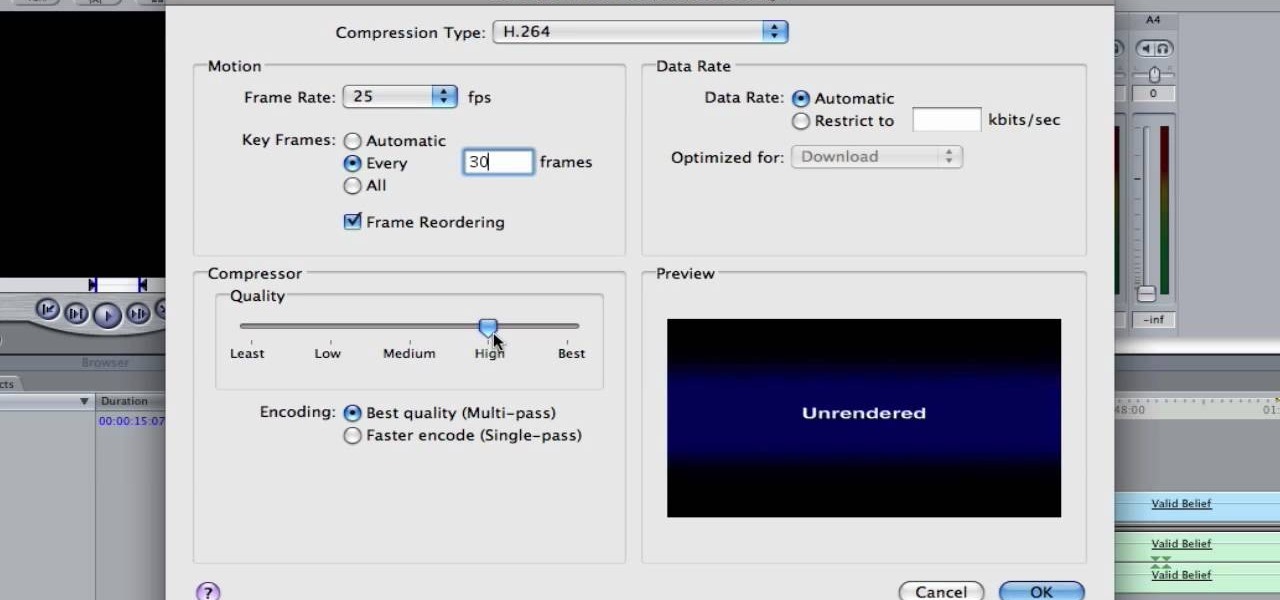
In this how-to video, you will learn how to get 720p quality videos in Final Cut Pro HD. This is useful if you want to take advantage of the higher quality video settings found on YouTube. First, have your film ready. Go to Export and press QuickTime Conversion. Now, name the file. Next, click options and uncheck internet streaming. Go to sound settings and change the format to AAC with a quality of Best. Now, go to the video settings. Change the size to 1280 x 720 HD. Change the frame rate t...
How To: Create titles & lower thirds in Final Cut Pro
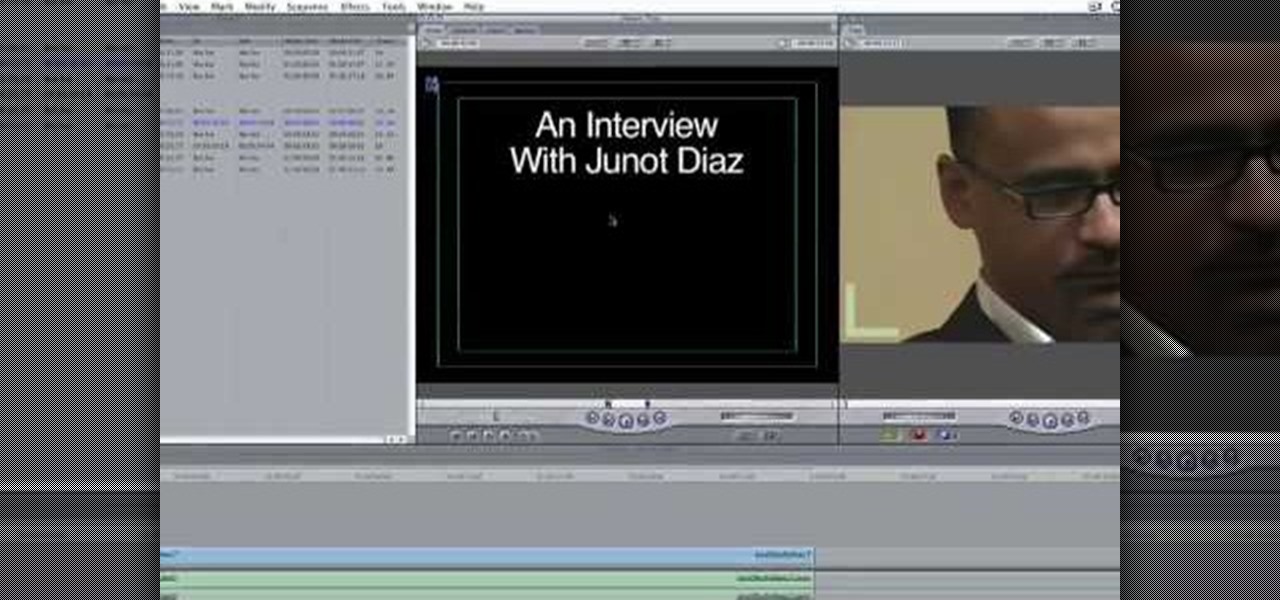
In this how-to video, you will learn how to add text and titles to videos using Final Cut Pro. First, place a time line play head where you want the text to appear. Move the mouse to the lower right corner of the viewer window and click the add text pop up menu. Select text and the viewer will change to a black box with Sample Text in the middle. Click on the tab labeled Controls. You can edit the text in this new window. You can move the text by selecting Image and Wire Frame. This will allo...

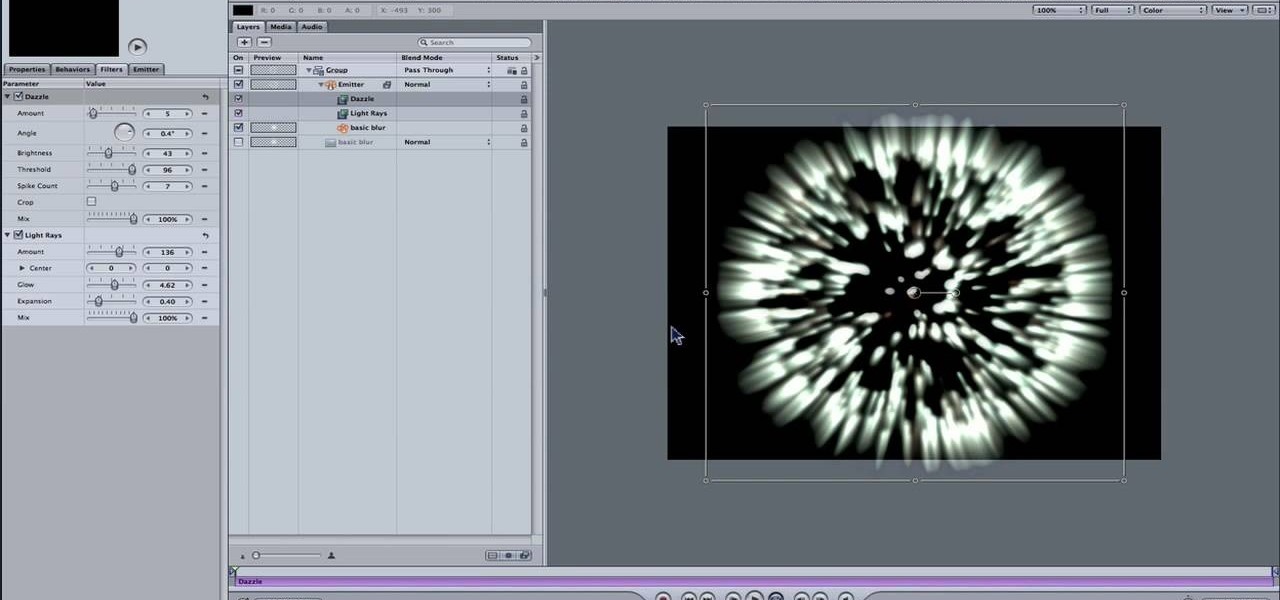
How To: Create particle confetti in Motion
Haven't mastered the full potential of Motion yet? Motion is a part of the Final Cut Studio package, and it allows you to do much of the things possible in After Effects. In this video tutorial, learn how to create particle confetti in Motion.
How To: Sync externally recorded audio with 5D footage in FCP
Because most professionals prefer recording audio independent of their DSLR camera using the double-system method, this video demonstrates how best to sync the audio to your video track in Final Cut Pro.
How To: Upload HD content to YouTube from Final Cut Pro
Frustrated with the seemingly inscrutable machinations of YouTube's HD video upload feature? With this home video production how-to, you'll learn how to optimize clips exported from Final Cut Pro for YouTube's high-definition player, resulting in beautiful, perfectly syncronized video every time.
How To: Convert h.264 footage from a Canon 5D and 7D
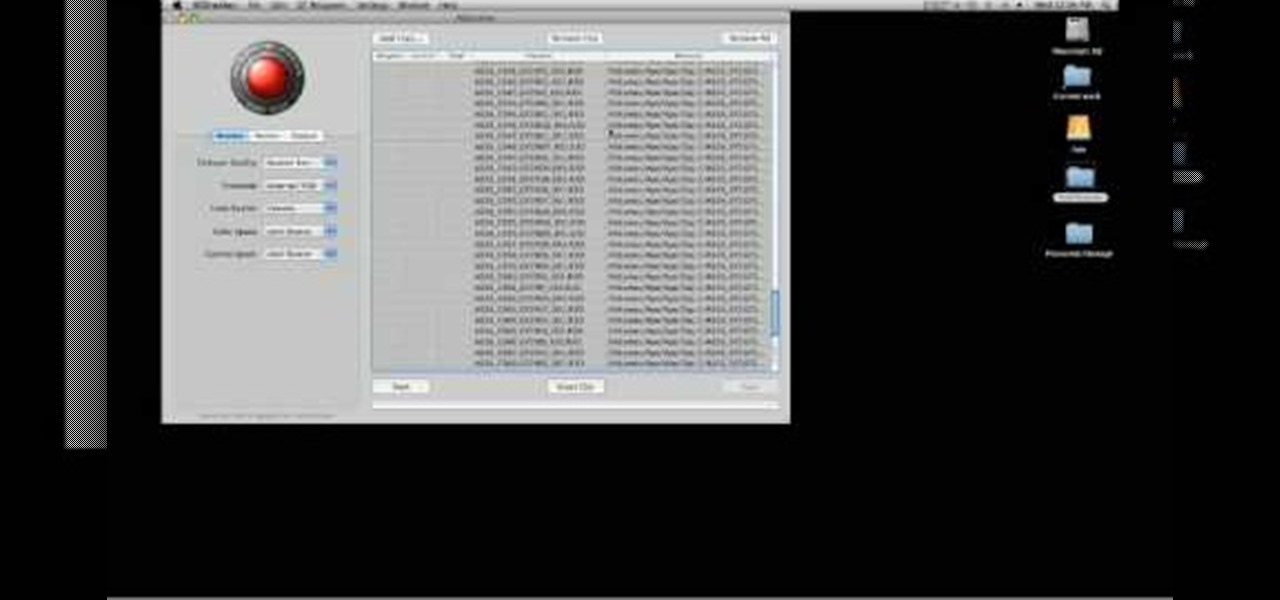
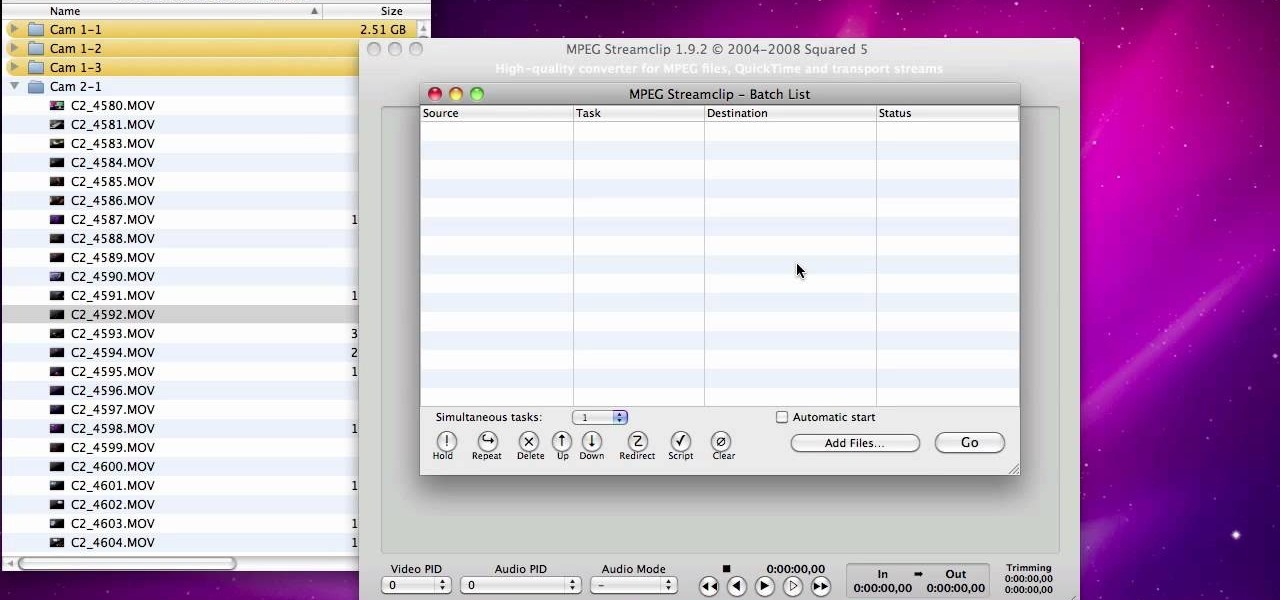
In order to be able to work with Canon DSLR footage (as from a 5D Mark II or 7D), you need to convert the h.264 into a more edit friendly format such as Apple ProRes 422. This tutorial shows you in detail how to ingest and convert this footage.

How To: Create a "film look" in Final Cut Pro
In this Final Cut Pro tutorial, learn how to make your digital film look like is came from tape. Step by step, learn how to create that "film look" in just a few clicks of your mouse.
How To: Set up Canon 5D MK II footage on Final Cut Pro
This video tutorial details how to set up Canon 5D MK II footage on Final Cut Pro. After watching this, you'll be able to create an easy setup for your project. It covers using the Audio/Video Settings option and using the Sequence Preset Editor to maximize your project workflow. See how to create the Easy Setup!
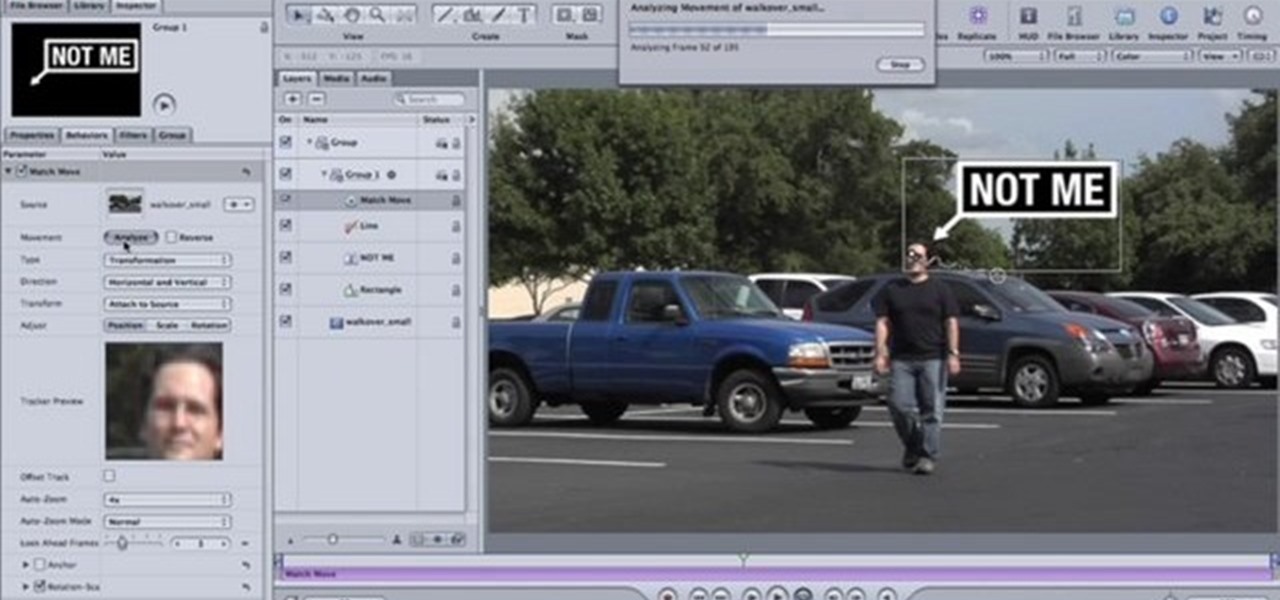
How To: Use Motion's match-moving capabilities
Special Case has this handy video tutorial on Motion… the motion graphics editor in Final Cut Studio. See how to use Motion's match-moving capabilities. The match-moving features are a great device to take advantage of, and is helpful for improving your Motion skills.
How To: Create light-writing with Motion's tracking feature
Special Case has this handy video tutorial on Motion… the motion graphics editor in Final Cut Studio. See how to create light-writing with Motion's tracking feature. The motion-tracking feature is a great device to take advantage of, and doesn't just apply to light writing.

How To: Use trashing preferences in Final Cut Pro
In this Final Cut Tutorial, Richard Harrington shows you how to clean up the Final Cut application when it starts acting up with bugs or other problems. Many times this can be caused by a corrupt preferences file or other user settings related to Final Cut Studio. These tips are also handy when performing an upgrade installation or reinstallation.

How To: Do keyframing color correction in Final Cut Pro
In this episode of Final Cut Help, Richard Harrington takes a look at keyframing the three way color corrector in FCP. As details change in a movie clip you can have the filter adjust its values over time. This example uses a video of a bird starting in a bright sky and ending in water which is darker, the contrast transition is controlled by keyframing the saturation and color correction.

How To: Fix exposure in Final Cut Pro
In this Final Cut tutorial, Richard Harrington discusses the common problem of backlighting, exposure and what can happen when shooting video outdoors. Proper exposure of all elements in a shoot can be a pain to achieve with a bright sun and blue sky but using the three way color corrector in Final Cut Pro, Richard is able to make all the elements pop.
How To: Correct white balance in Final Cut Pro
In this Final Cut tutorial, Richard Harrington discusses what to do to correct your film when you shoot footage with the wrong white balance setting. This is a common problem if you step outside after shooting inside and you forget to rewhite balance. Richard uses the three way color corrector to do a digital white balance on the clip inside of Final Cut Pro.

How To: Use compression with turbo in Final Cut Pro
In this Final Cut Pro tutorial, Richard Harrington take a look at the elgato turbo.264. This is a USB add on device that accelereates the h.264 encoding you can do on your Mac. The turbo.264 comes with its own compression software with presets for iPod, iPhone, Sony PSP, AppleTV and YouTube.
How To: Use the gradient wipe transition in Final Cut Pro
In this Final Cut Pro tutorial, Richard Harrington takes a look at the gradient wipe transition. The gradient wipe transition is a highly customizable transition using greyscale patterns to create your own custom wipes.

How To: Track vignettes using Final Cut Pro
In this Apple Color tutorial, Richard Harrington along with color expert Robbie Carman teaches how to use tracking to have vignettes follow a person around the screen to simulate a spotlight effect.

How To: Create custom shapes in color with Final Cut Pro
In this Apple Color tutorial Richard Harrington and guest Robbie Carman will use user defined shapes to form vinettes to perform a secondary color correction. Learn about where primary and secondary color correction really occurs in Apple Color and other tips and tricks.

How To: Use the 3-Way Color Corrector in Final Cut Pro
In this Final Cut Pro video tutorial you will learn about using the 3-way color corrector with skin tones and how the color corrector behaves when adjusting the color of two subjects in identical scenes.

How To: Do native P2 editing in Final Cut Pro with MXF4mac
Native P2 Editing in Final Cut Pro with MXF4mac. Creative Cow is a support community for digital video, video editing, and media production professionals in broadcasting, motion graphics, special FX and film. Creative Cow hosts tutorials in a variety of softwares including Adobe programs (After Effects, Dreamweaver, Flash, Illustrator, InDesign, Photoshop, Premiere), Apple programs, Autodesk, AVID, Cinema 4D, Sony Vegas, Zaxwerks, and much more.

How To: Use the "add" composite mode in Final Cut Pro
Check out this quick tip for Apple's Final Cut Pro. See how to use the "add" composite mode in Final Cut Pro. Footage Firm has given DV Professionals access to free footage of a numbers graphic.

How To: Create text in Motion 3
For this Final Cut Studio video tutorial, Zach King will teach you how to create text in Motion. If you want to cover the basics of creating cool text in the Motion 3 program, this is the perfect video to help you out. Let the Final Cut King show you how!

How To: Use the camera in Motion 3
For this Final Cut Studio video tutorial, Zach King will teach you how to use the camera in Motion. If you want to cover the basics of adding and using a camera in the Motion 3 program, this is the perfect video to help you out. Let the Final Cut King show you how!

How To: Use layers in Motion 3
For this Final Cut Studio video tutorial, Zach King will teach you how to use layers in Motion. If you want to cover the basics of layers in the Motion 3 program, this is perfect video to help you out. Let the Final Cut King show you how!
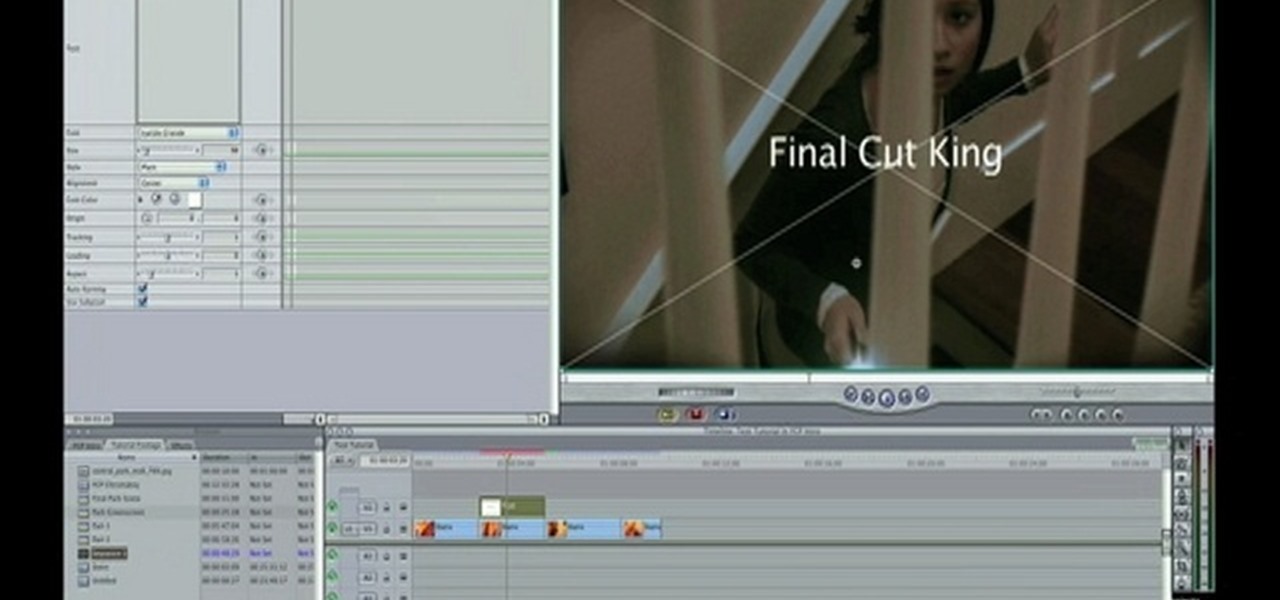
How To: Create and manage text in Final Cut Pro
For this Final Cut Studio video tutorial, Zach King will teach you how to create and manage text in Final Cut Pro. To create and manage text, just go to the Video Generators Tab in the Viewer window, go to Text, and choose your favorite option, or just the plain old Text. Check out the rest of the process in Final Cut. Let the Final Cut King show you how!

How To: Create an Apple reflection look in Final Cut Pro
For this Final Cut Studio video tutorial, Zach King will teach you how to create an Apple reflection look in Final Cut Pro. To create an Apple reflection look, just go to the Video Generators tab, go to Render, and then Gradient. Next, go to Controls, click Gradient Type, go to Horizontal Bottom To Top, and also check Gaussian Blur. Check out the rest of the process in Final Cut. Let the Final Cut King show you how!
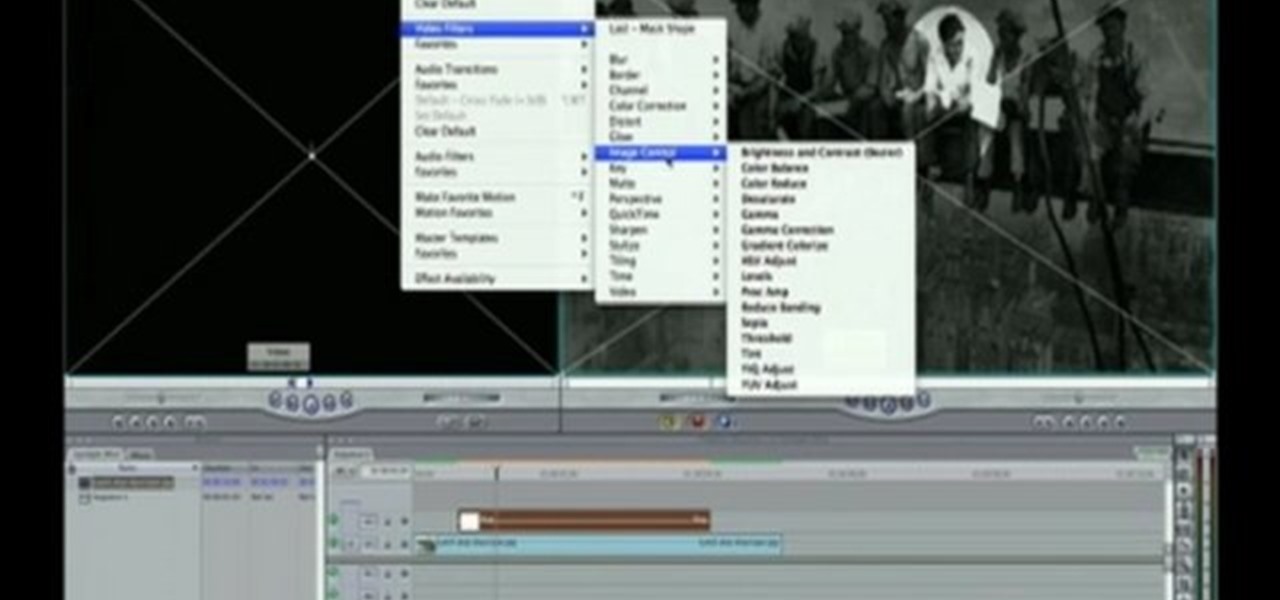
How To: Create a spotlight effect in Final Cut Pro
For this Final Cut Studio video tutorial, Zach King will teach you how to create a spotlight effect in Final Cut Pro. To create a spotlight effect, just drag your photo of choice into the timeline, set and in and out point, go to video generators, and use the slug. Then press the red overwrite button. Next, select the clip, go to the Effects tab, go to Video Filters, Matte, and then Mask Shape. Check out the rest of the process in Final Cut. Let the Final Cut King show you how!