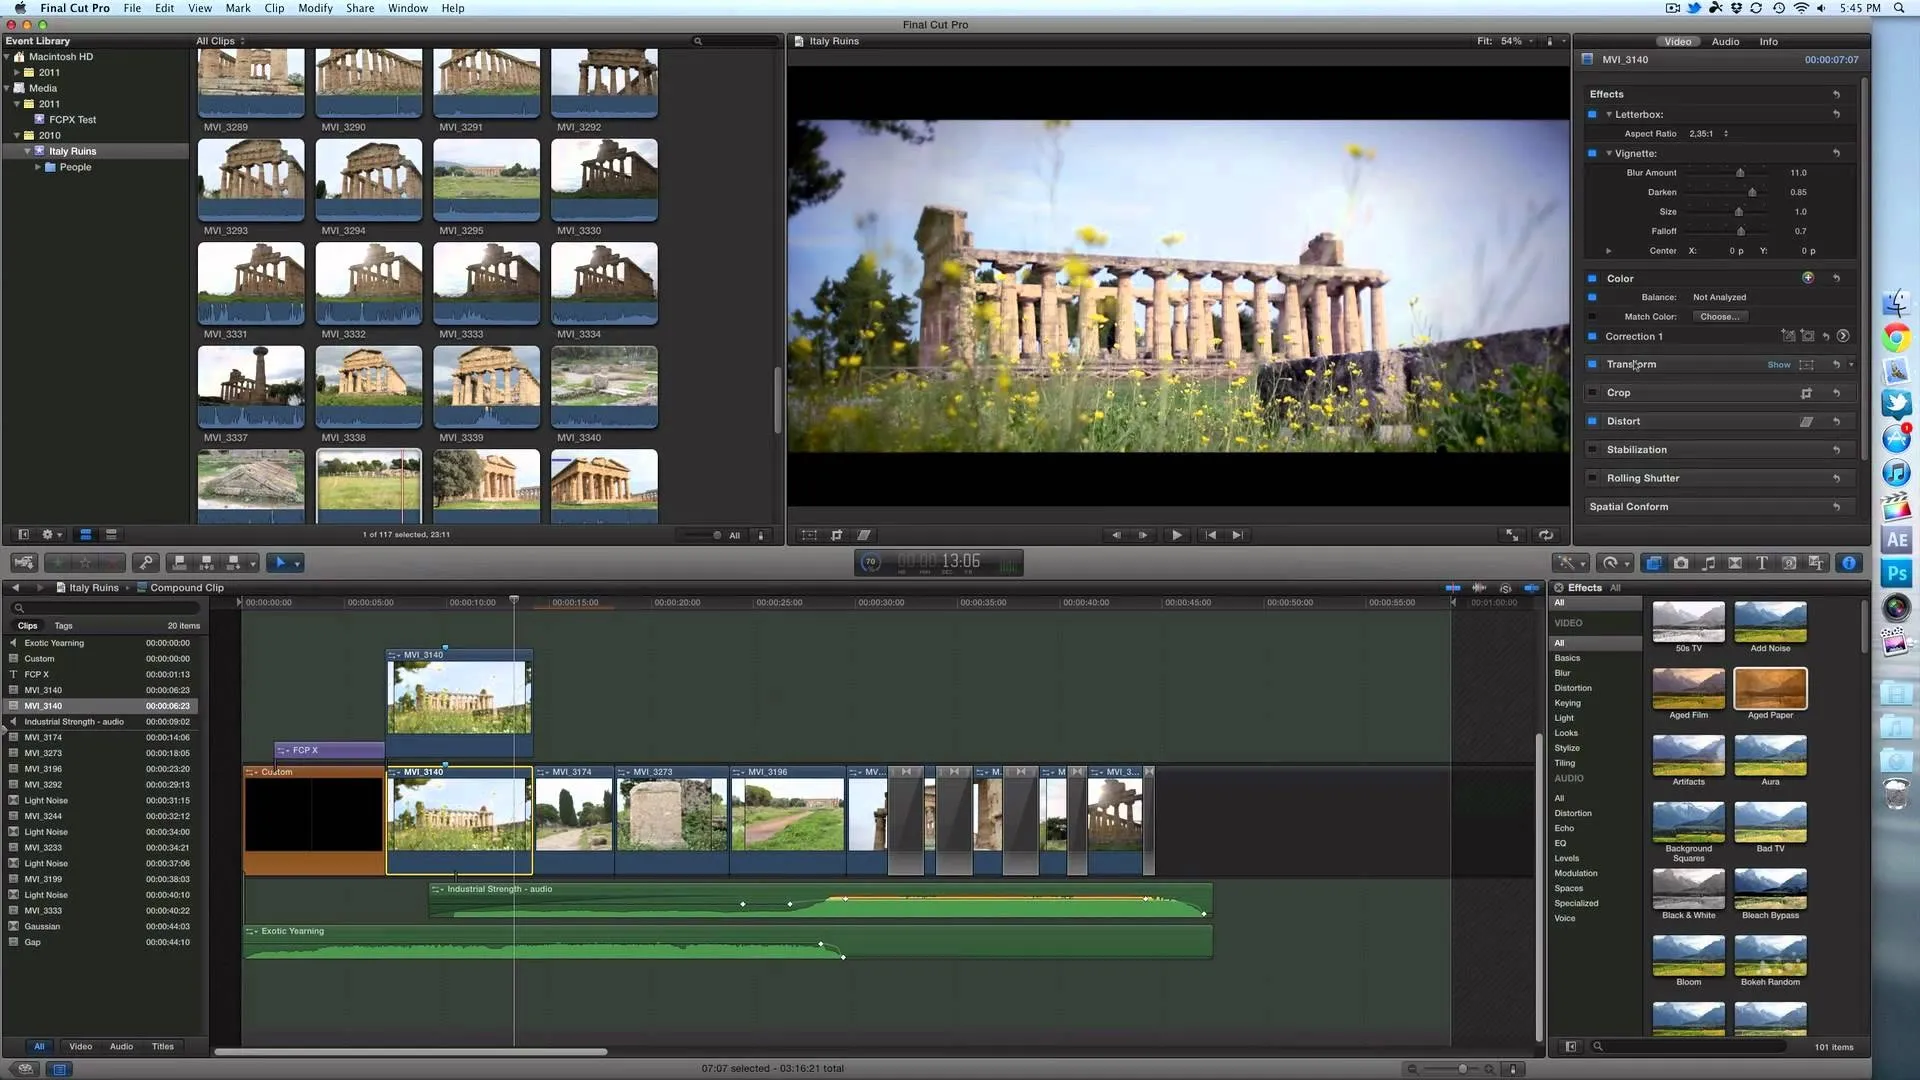
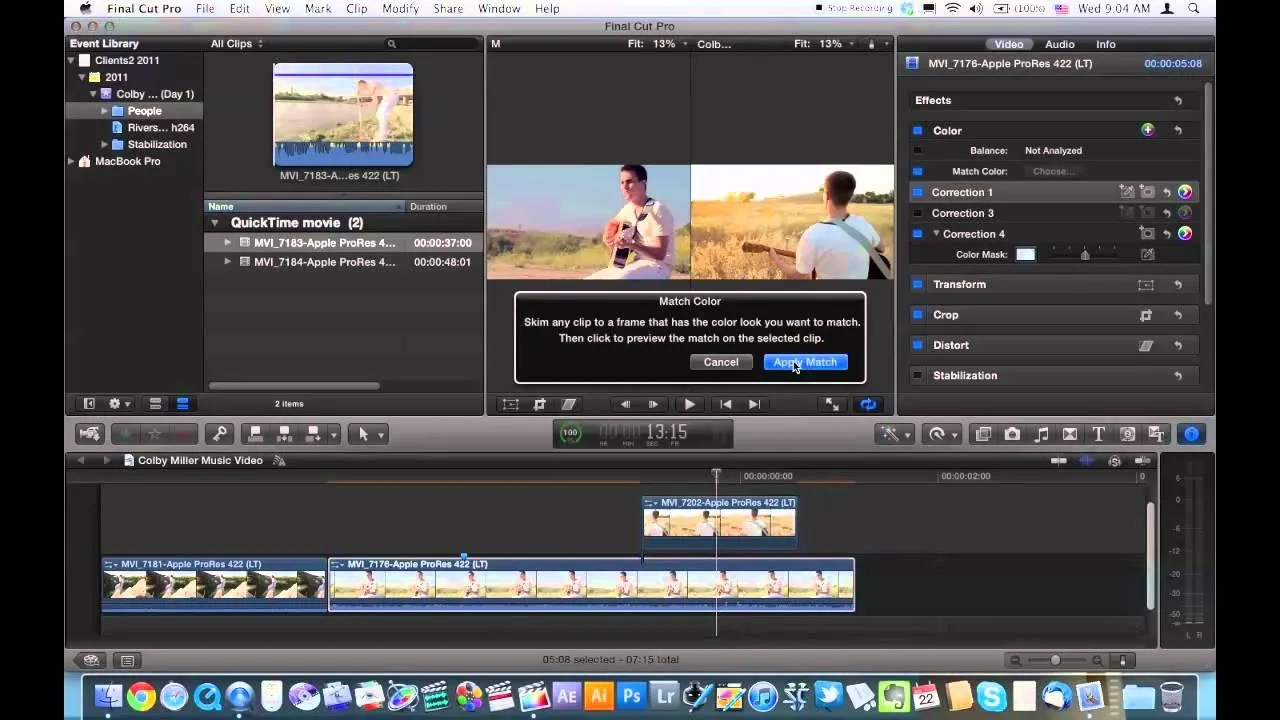
Frustrated with the seemingly inscrutable machinations of YouTube's HD video upload feature? With this home video production how-to, you'll learn how to optimize clips exported from Final Cut Pro for YouTube's high-definition player, resulting in beautiful, perfectly syncronized video every time.
Step-by-step instructions:
1) File - Export - Using QuickTime conversion
2) FORMAT = QuickTime Movie
3) Click OPTIONS
4) Click SETTINGS
a) Compression Type = MPEG-4 Video
b) Frame Rate Current
c) Quality = BEST
d) Click OK
5) Click SIZE
a) Dimension = HD 1280 x 720 16:9
b) Click OK
6) Under SOUND Click on SETTINGS
a) FORMAT = AAC
b) Channels = Stereo (LR)
c) RATE = 44.100
d) Quality = Better
e) Click OK
7) Click OK
8) Save with a name
9) Upload this video to youtube
10) Wait for an Hour or Two AFTER the upload is complete to see the Watch in HD Button. In
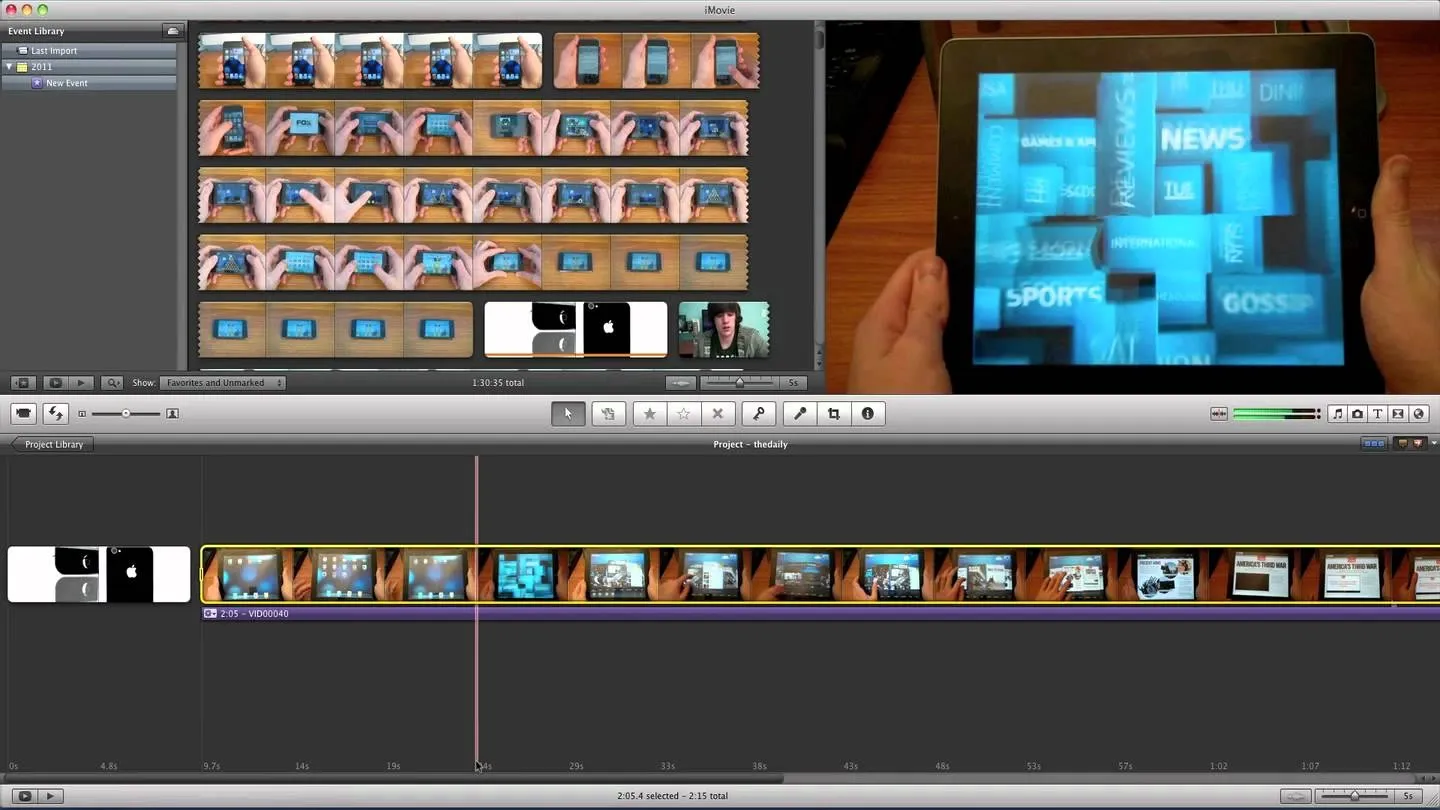
iMovie 08:
1) Share - Export - Using QuickTime Conversion
2) FORMAT = QuickTime Movie
3) Click OPTIONS
4) Click SETTINGS
a) Compression Type = MPEG-4 Video
b) Frame Rate Current
c) Quality = BEST
d) Click OK
5) Click SIZE
a) Dimension = HD 1280 x 720 16:9
b) Click OK
6) Under SOUND Click on SETTINGS
a) FORMAT = AAC
b) Channels = Stereo (LR)
c) RATE = 44.100
d) Quality = Better
e) Click OK
7) Click OK
8) Save with a name
9) Upload this video to youtube
10) Wait for an hour or two AFTER the upload is complete to see the Watch in HD Button.








Comments
Be the first, drop a comment!