


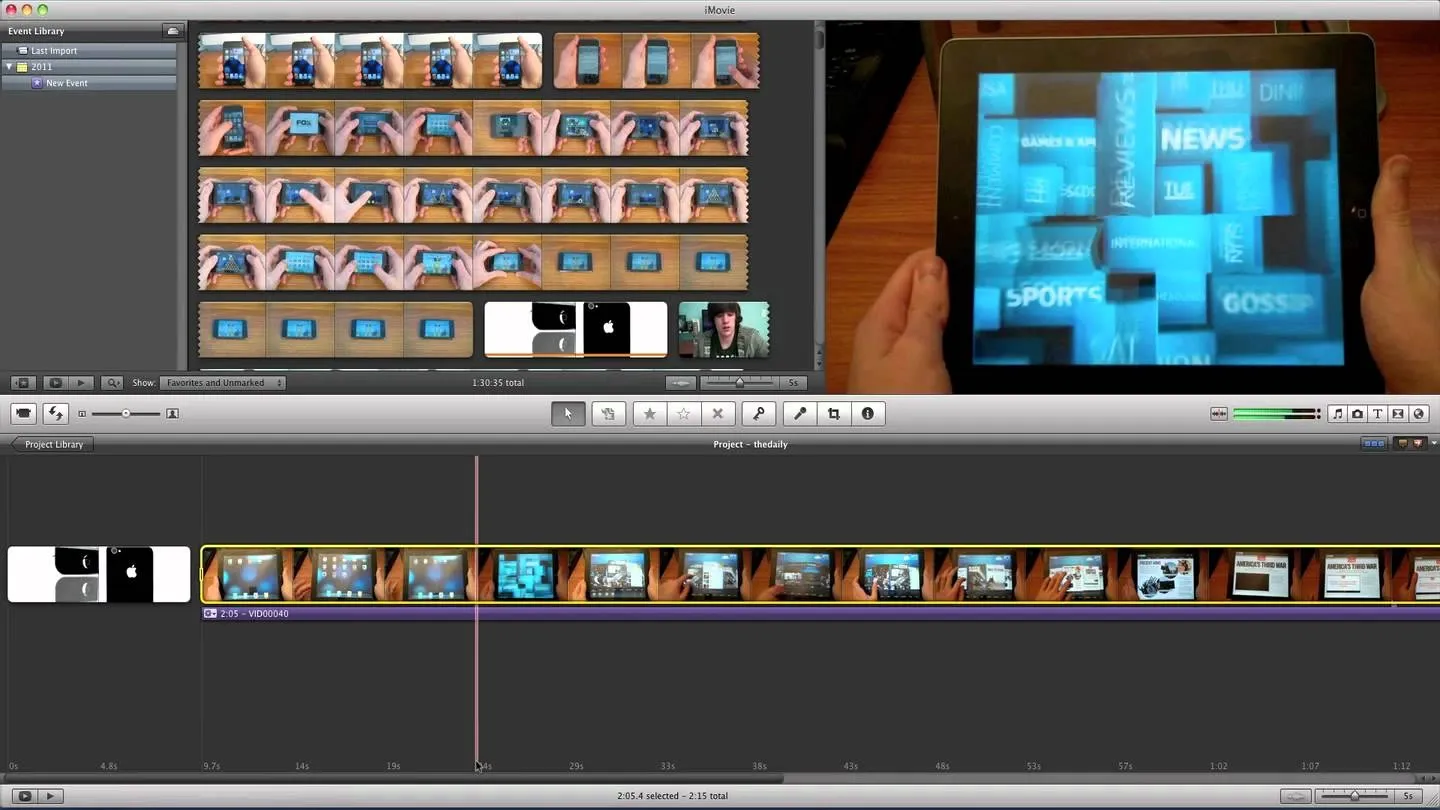
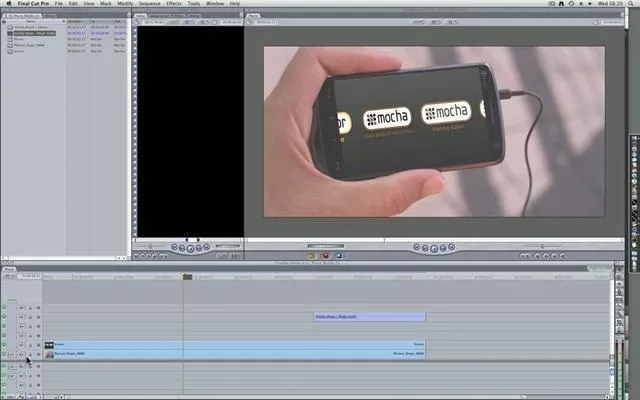
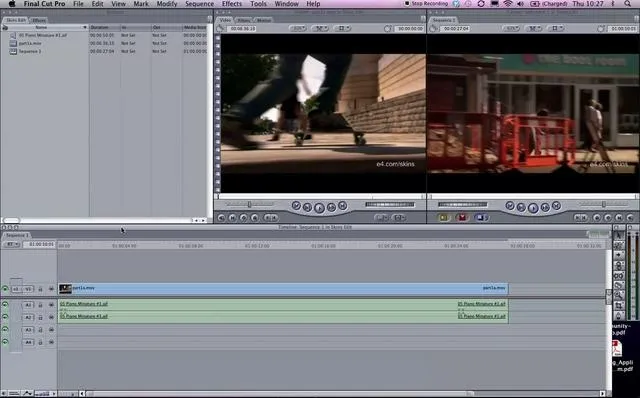
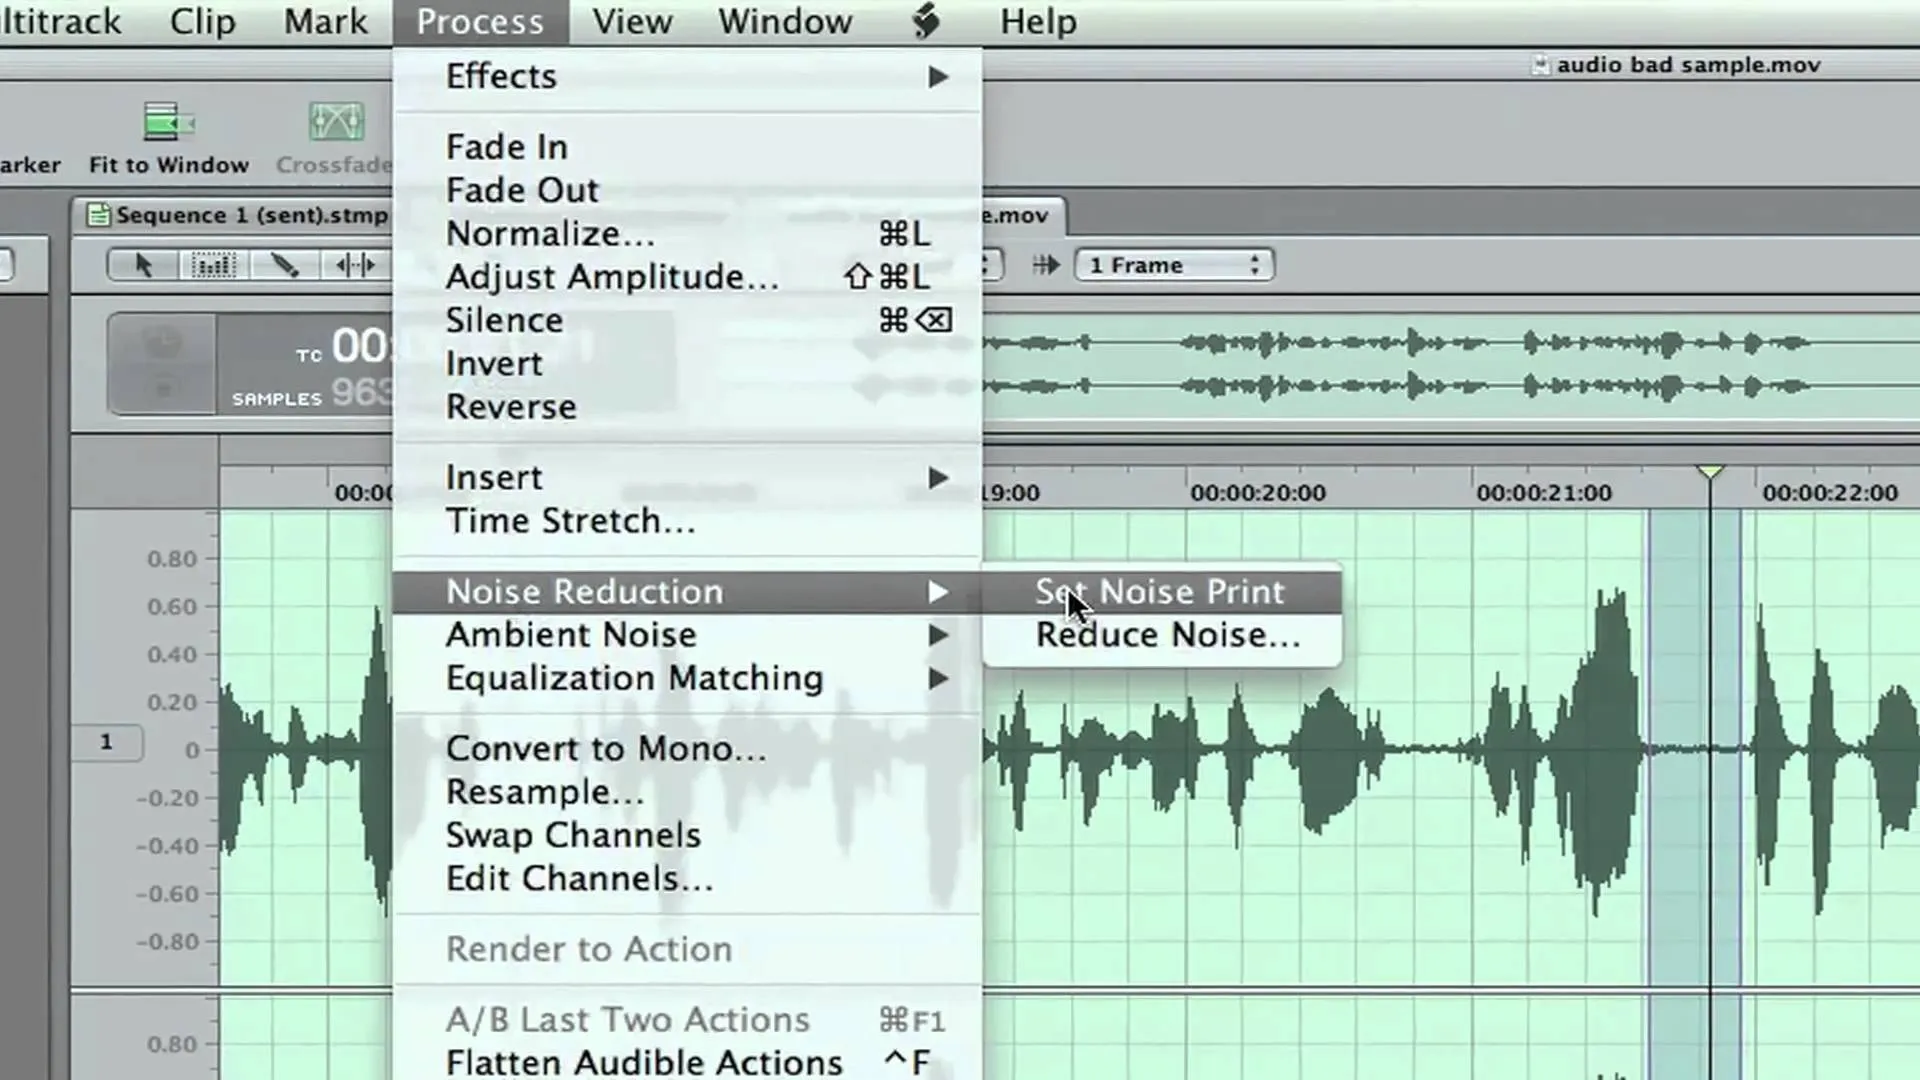
First, after recording the movie open it in IMovie. Make the "rough edits" (removing parts of videos you don't need, and making quick changes). Next, go to Share>Export Final Cut XML. Now an XML file should be on your desktop. Then open up Final Cut pro and edit the audio. If you are adding music, you can open soundtrack and find the music you want, then click and drag it into Final Cut, or send it to Final Cut. Then, make the edits you want to your video until you have it polished into a final product. Next, go to File>Export>QuickTime Movie and uncheck the self-contained movie box and then and export it. Then open up the compressor, put in the movie, give it the YouTube video preset (which you can find out about in his other movies). If you recorded from a desktop using Screen Flow, when exporting use Apple ProRes 422. If you use a screen capture, use the IMovie auto-adjust to correct the colors. Compress the movie, and now you are ready to upload to YouTube.
Apple's iOS 26 and iPadOS 26 updates are packed with new features, and you can try them before almost everyone else. First, check Gadget Hacks' list of supported iPhone and iPad models, then follow the step-by-step guide to install the iOS/iPadOS 26 beta — no paid developer account required.


Comments
Be the first, drop a comment!