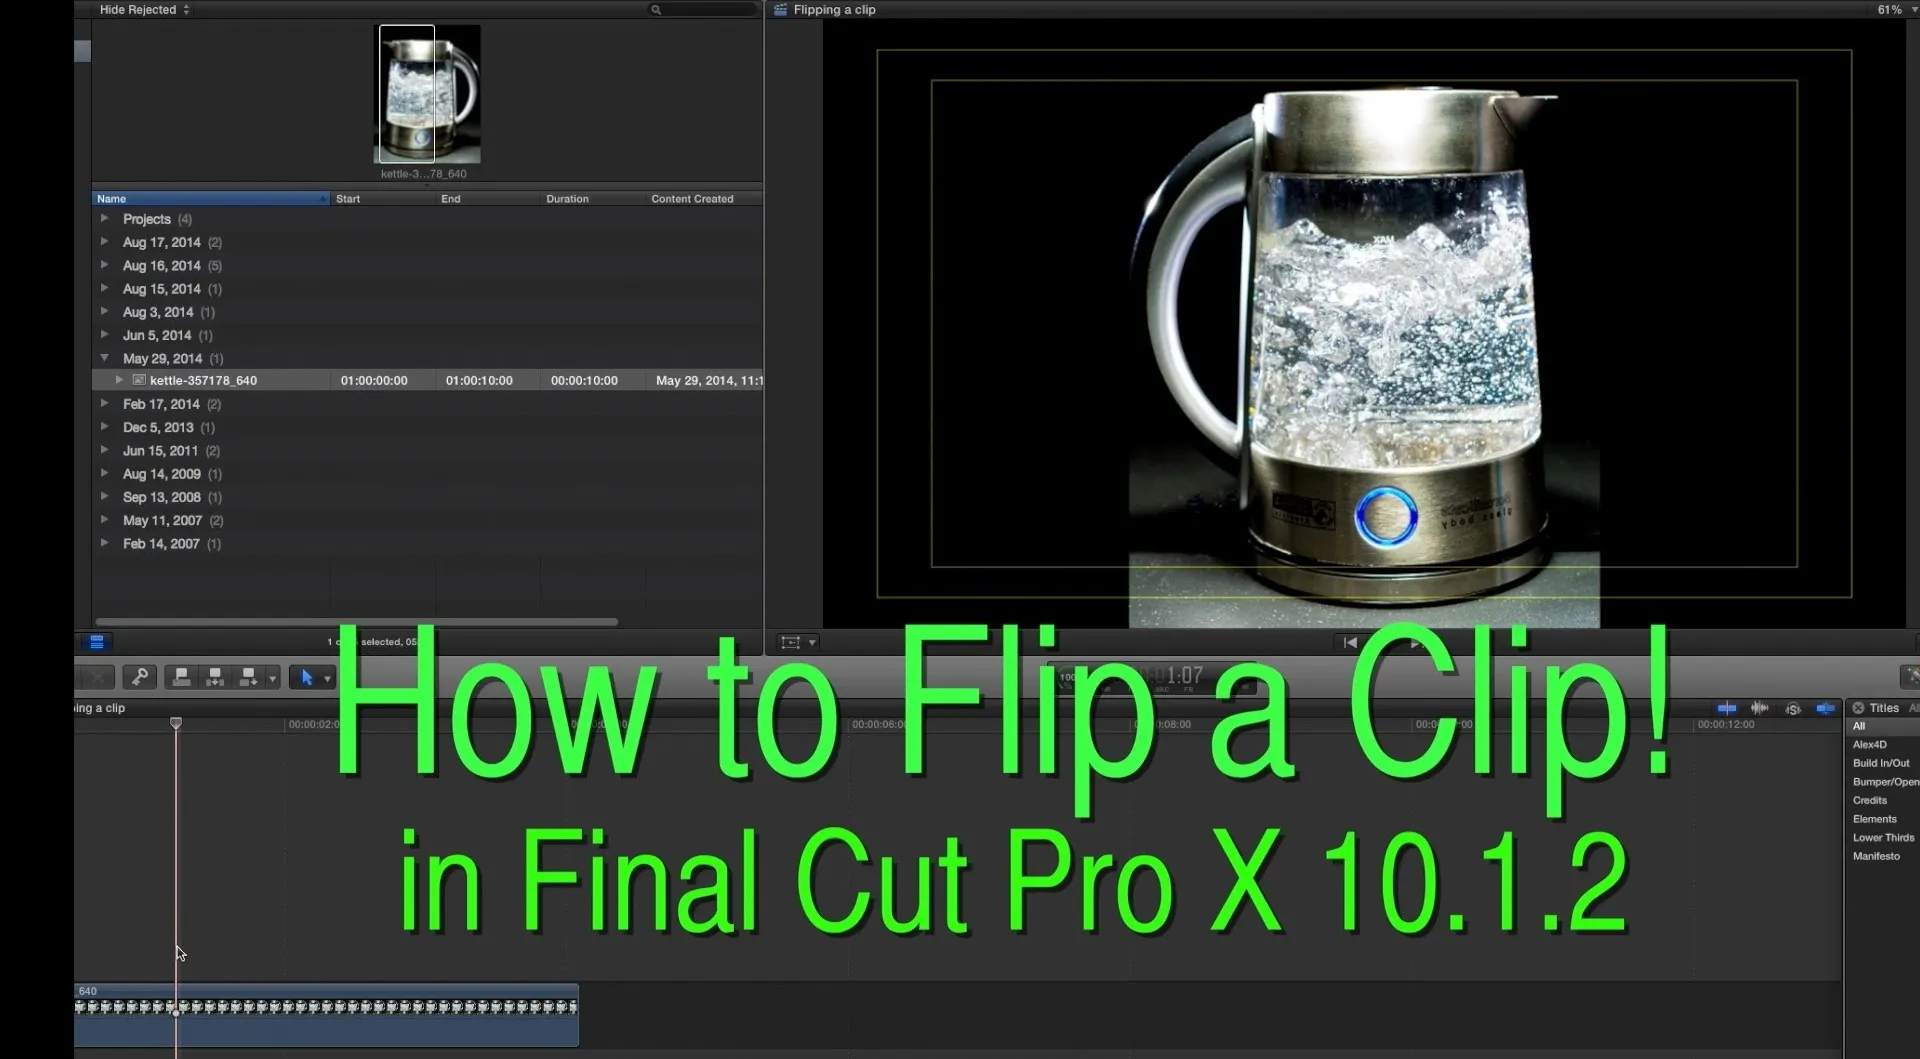
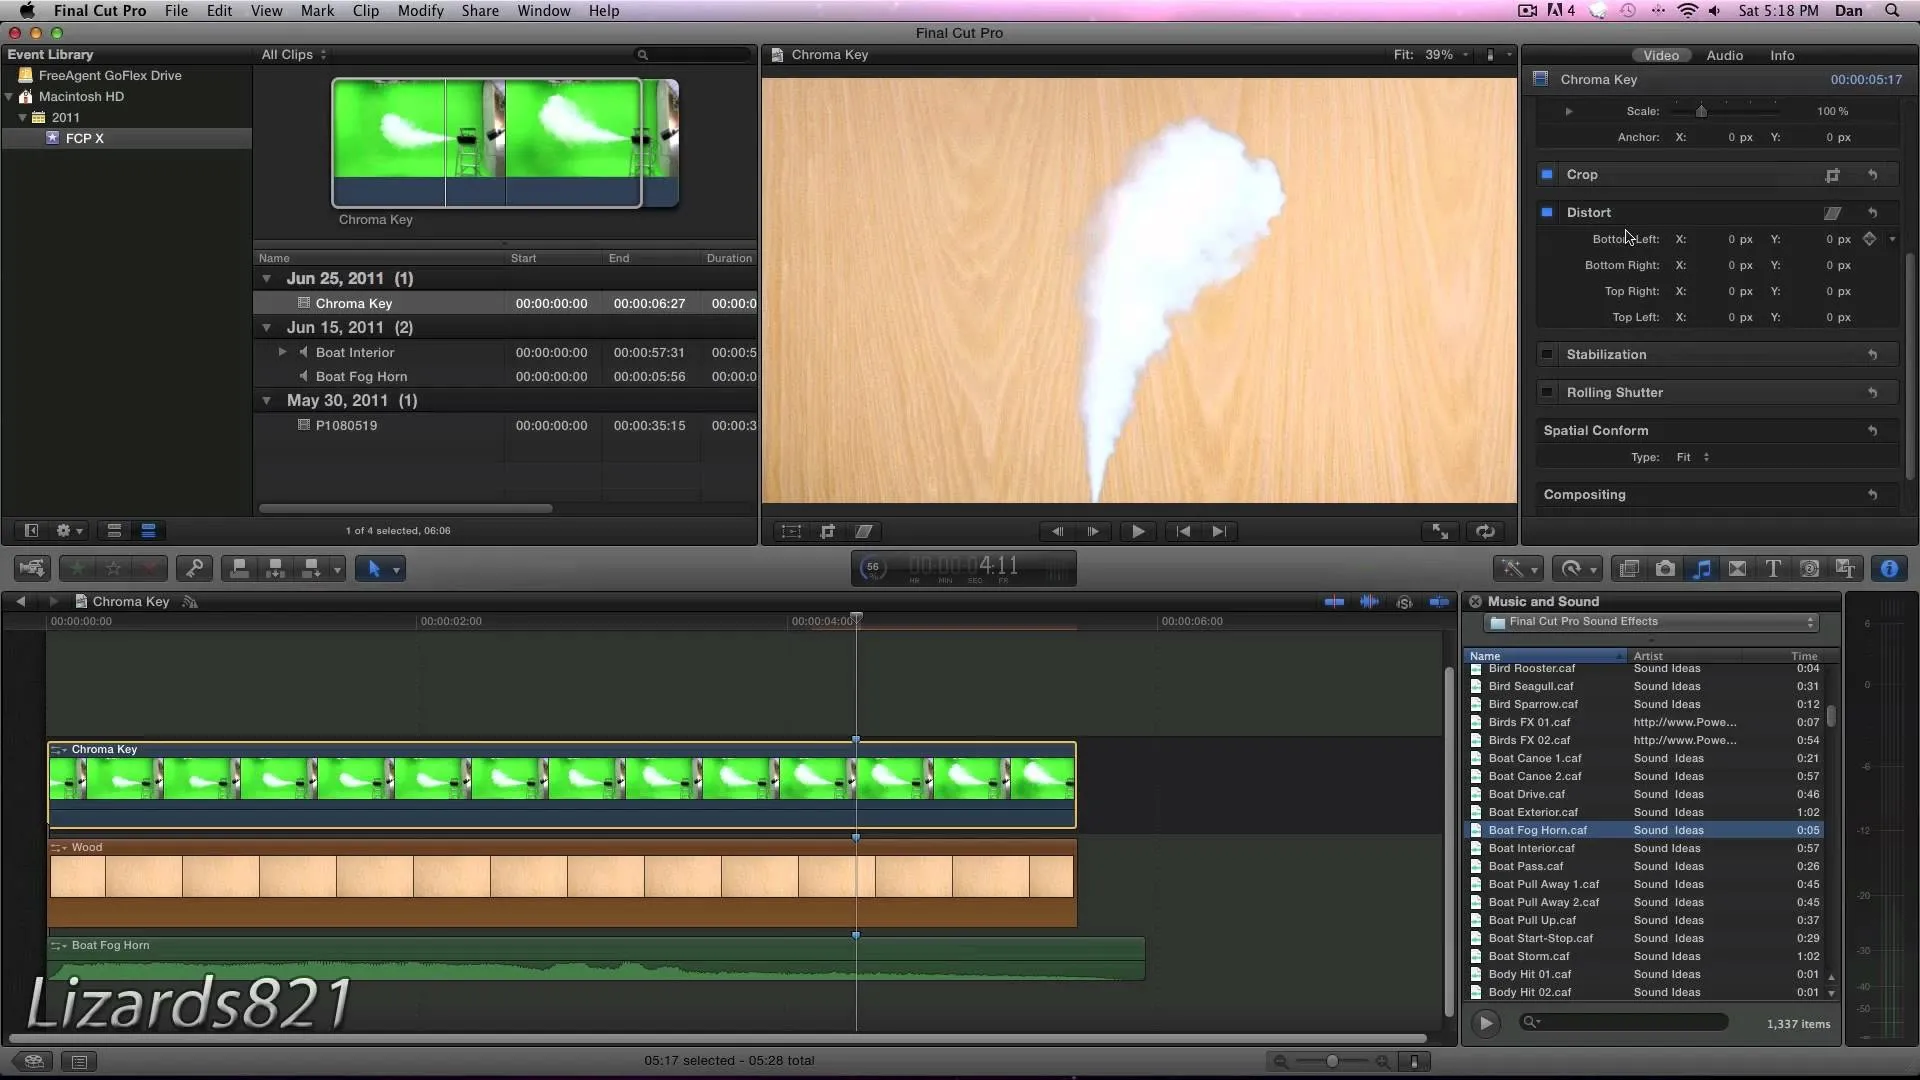
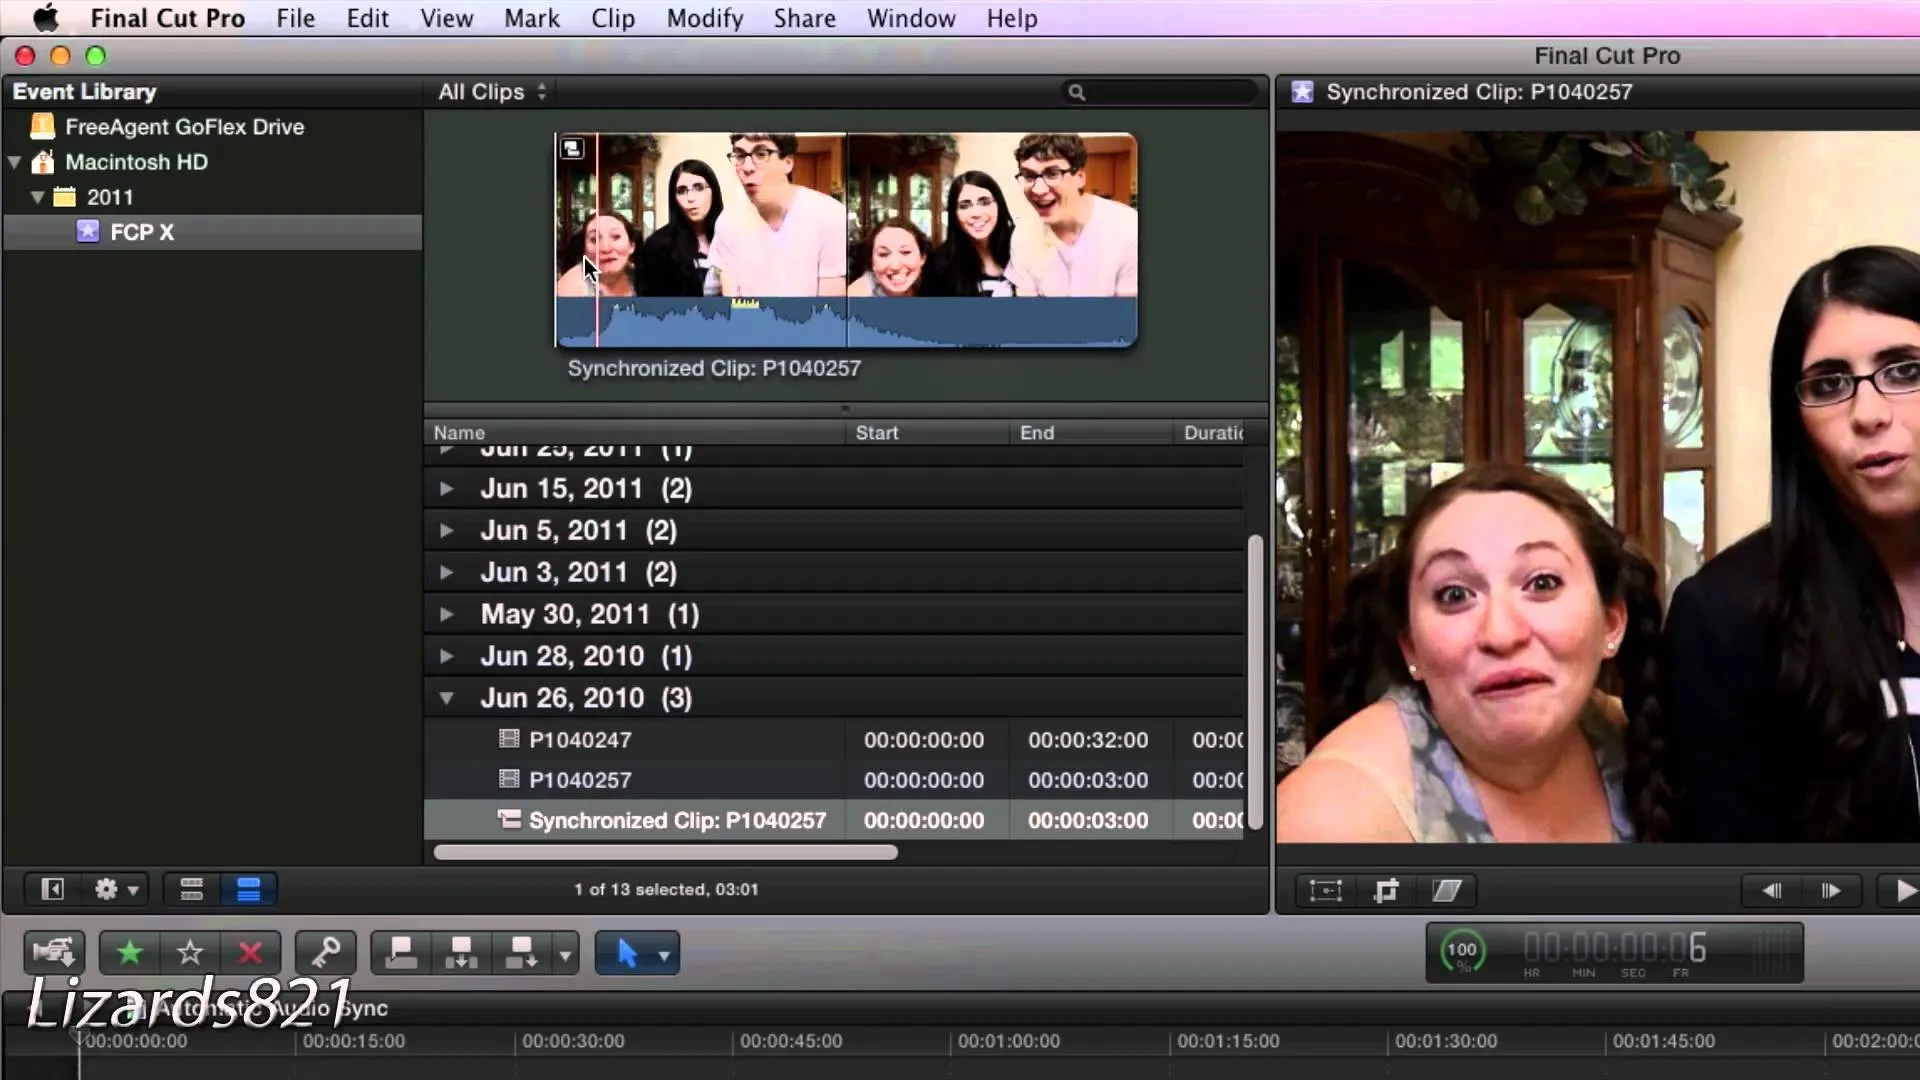
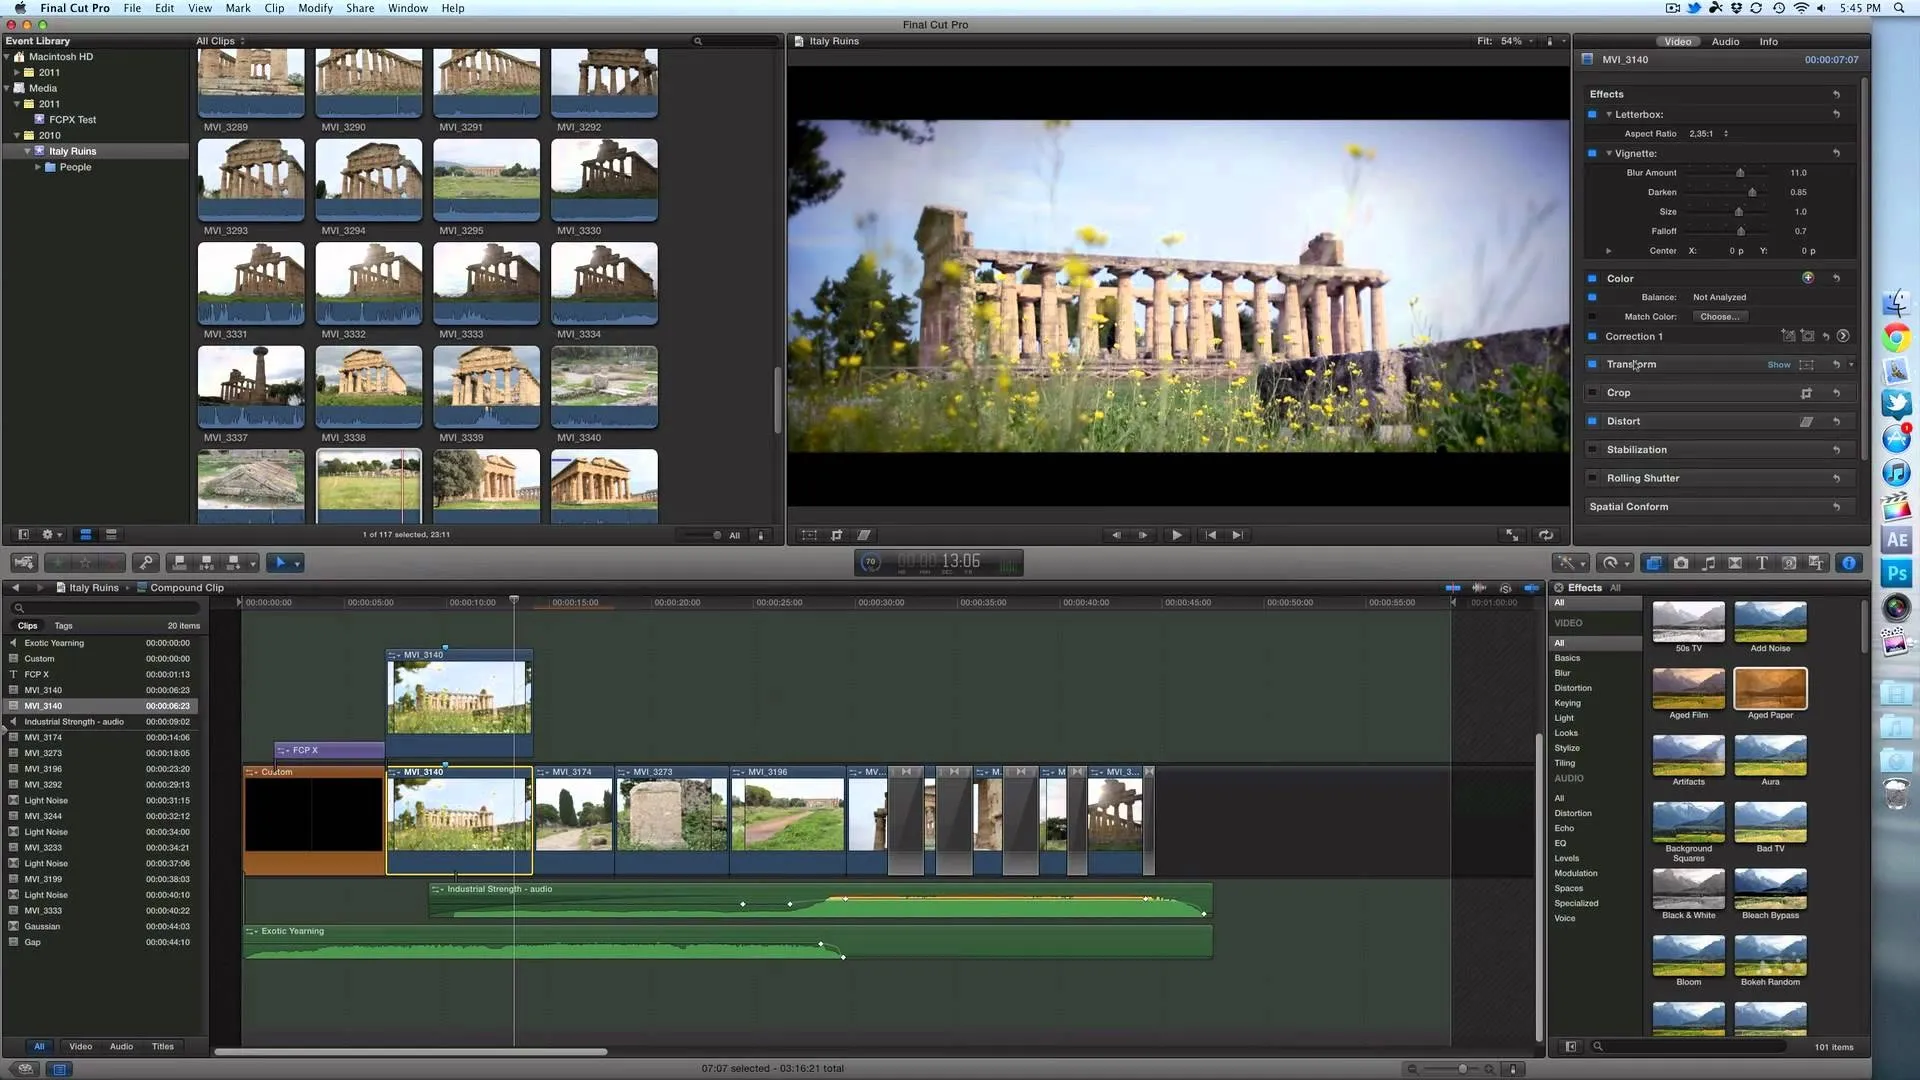
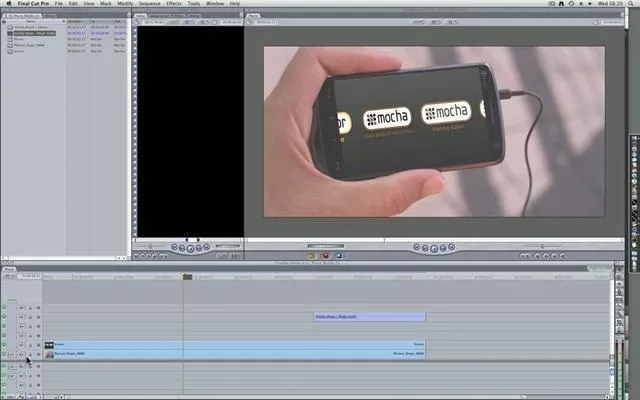
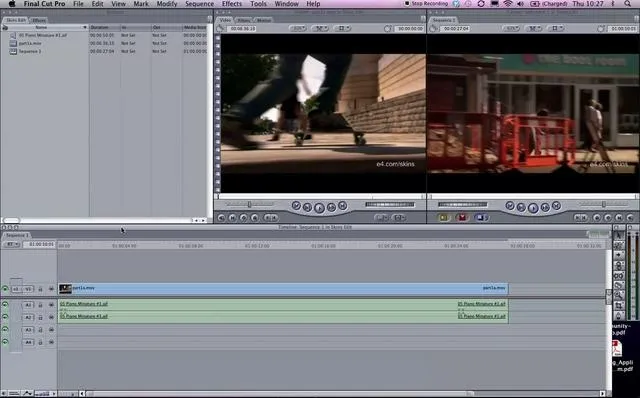
In this video tutorial, viewers learn how to create a freeze-frame effect in Adobe Final Cut Pro. Begin by placing the time line indicator to where you would like to place your freeze-frame. Press Shift and N to create the freeze-frame. The default user preference is 10 seconds. To change it, change the time and click on the insert button to splice the new freeze-frame time into the time line. Now click on the Effects tab and select the Dip to Color Dissolve under Video Transitions and Dissolve. Finish by adding the camera flash sound effect. This video will benefit those viewers who enjoy creating videos and would like to learn how to create a freeze-frame effect to add into their videos.
Apple's iOS 26 and iPadOS 26 updates are packed with new features, and you can try them before almost everyone else. First, check Gadget Hacks' list of supported iPhone and iPad models, then follow the step-by-step guide to install the iOS/iPadOS 26 beta — no paid developer account required.








Comments
Be the first, drop a comment!