


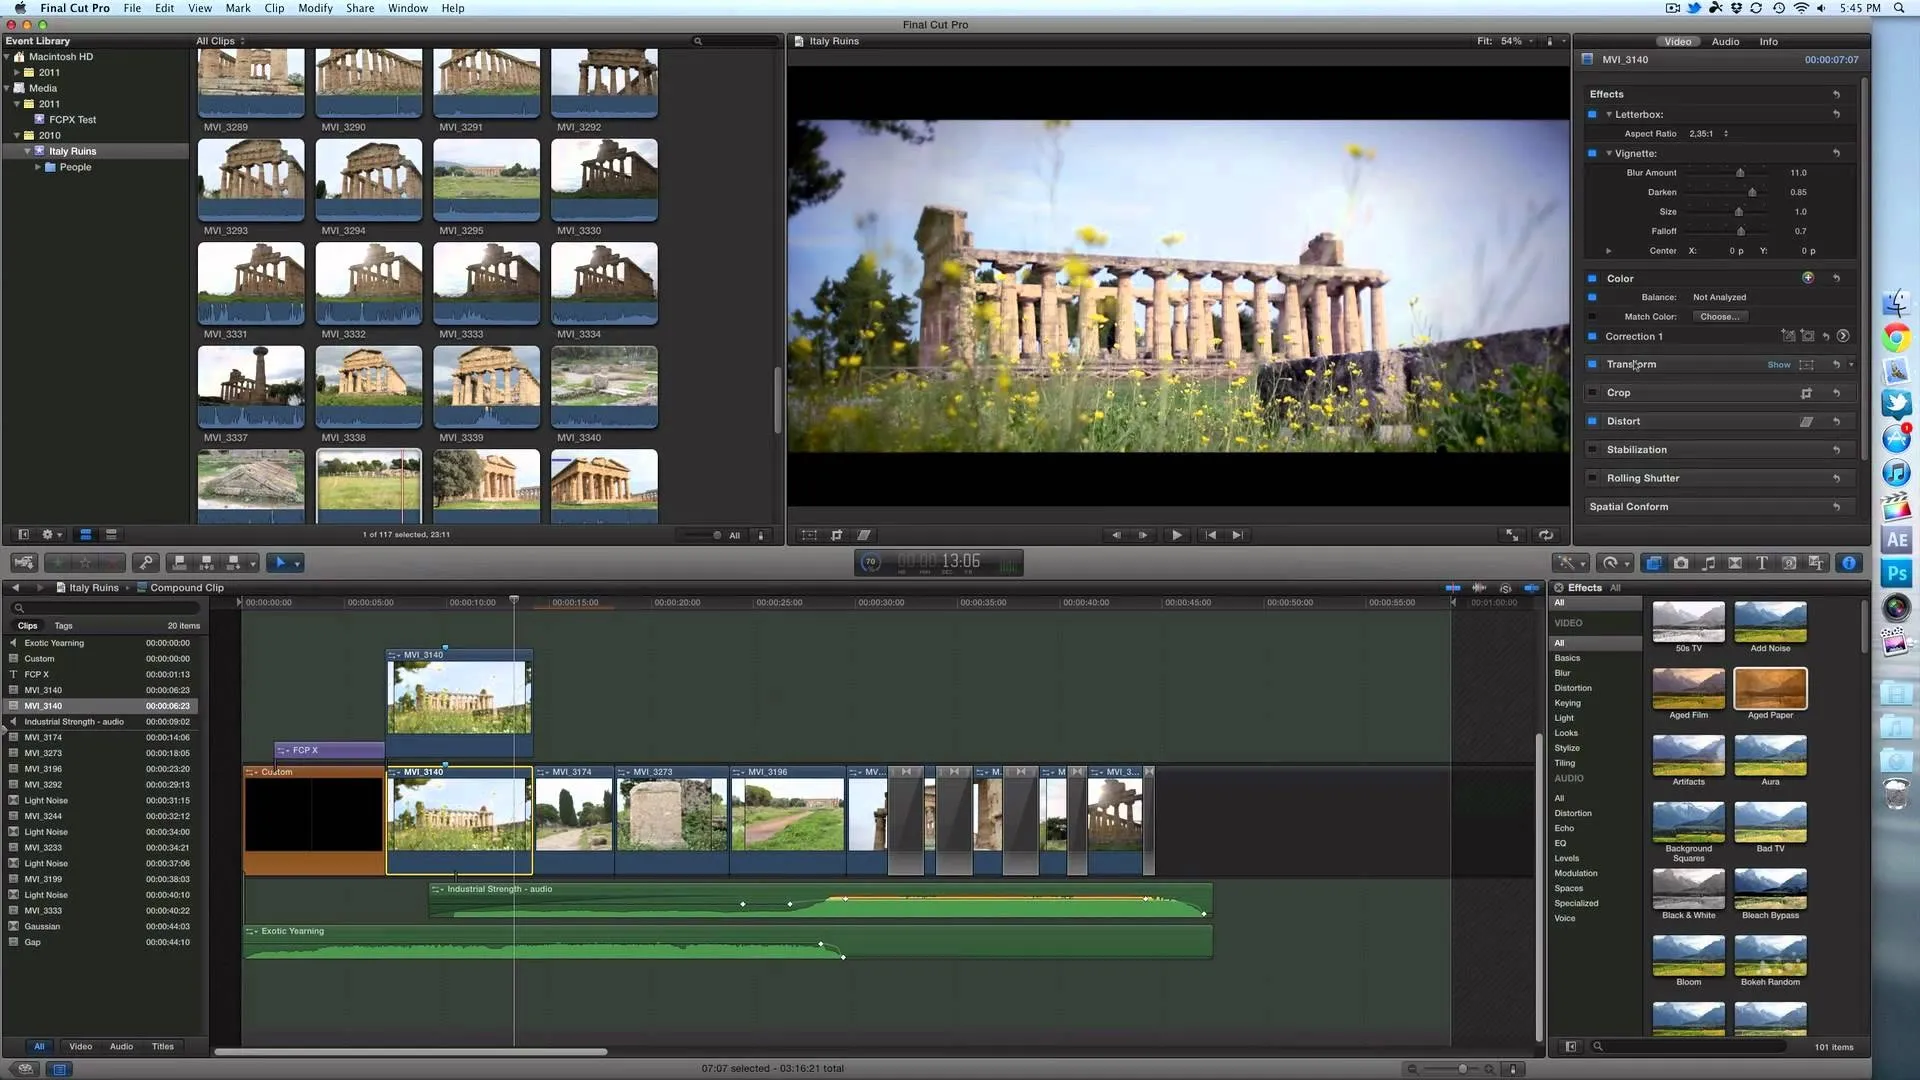
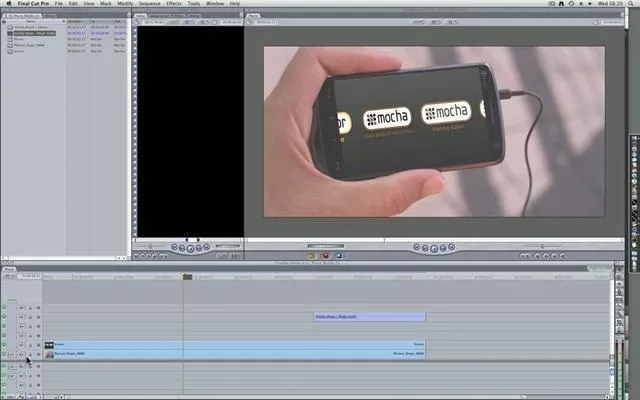
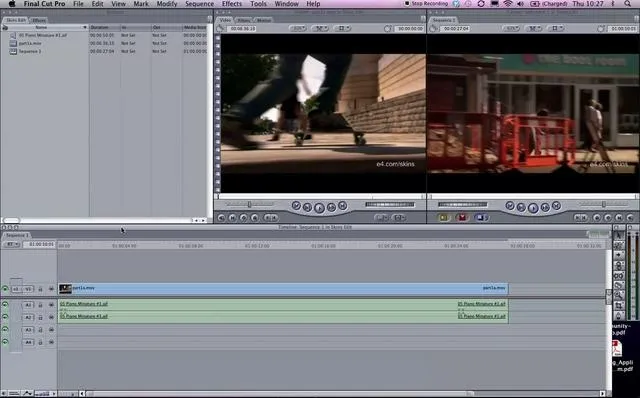
In this how-to video, you will learn how to add movement to still images using Final Cut Pro. Click on the view mode button in the canvas window. Set the mode to Image and Wire Frame. Move the canvas play head to the clip you would like to affect, and select the time line. To control the scale, grab the corner to shrink or enlarge. Reposition the clip by clicking on the image and dragging it around. To rotate the clip, move the mouse over the edge and click and drag it to spin it. Select the Image and Wire Frame option and move the canvas play head to where the movement will start and press the Add Key Frame button. Place the image in the starting position. Move the canvas play head to where the movement will end and click the Add Motion Key Frame button. Reposition the image to where you would like the image position to end. You can change the scale if you want. You can click on the Motion Tab in the viewer or the Toggle Click Key Frames button to fine tune the movement. Viewing this video will teach you how to easily add animation to still motions.
Apple's iOS 26 and iPadOS 26 updates are packed with new features, and you can try them before almost everyone else. First, check Gadget Hacks' list of supported iPhone and iPad models, then follow the step-by-step guide to install the iOS/iPadOS 26 beta — no paid developer account required.


Comments
Be the first, drop a comment!