

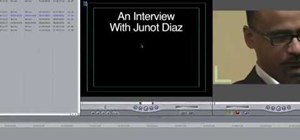
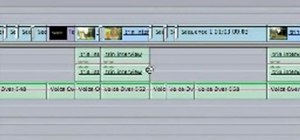
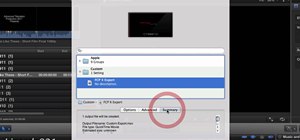
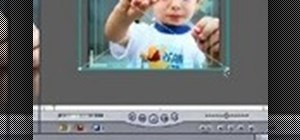
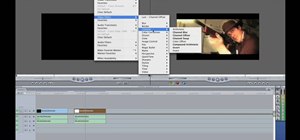
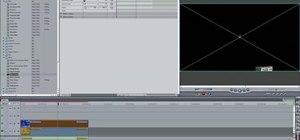
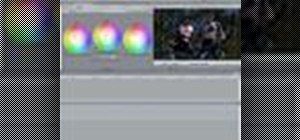
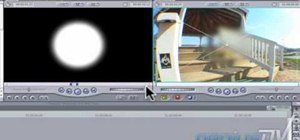
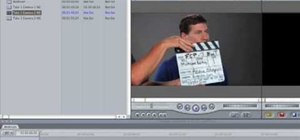
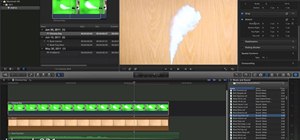
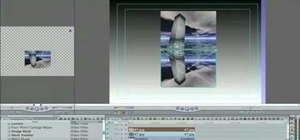
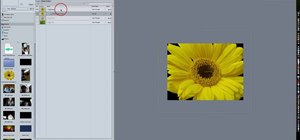
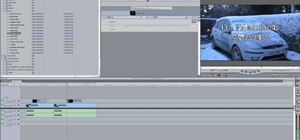
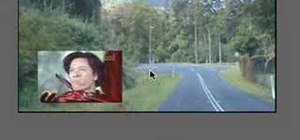
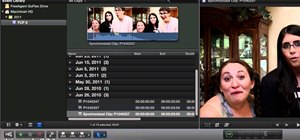
In this how-to video, you will learn how to add text and titles to videos using Final Cut Pro. First, place a time line play head where you want the text to appear. Move the mouse to the lower right corner of the viewer window and click the add text pop up menu. Select text and the viewer will change to a black box with Sample Text in the middle. Click on the tab labeled Controls. You can edit the text in this new window. You can move the text by selecting Image and Wire Frame. This will allow you to grab the image and move it around the viewer. To add this text to your sequence, drag the text card from the viewer into your time line. You can adjust the length of text appearance on the screen by clicking on the end of the text clip and dragging it to the left. Click on the remaining space between the two clips and hit the Delete key. You can add text to a clip by clicking the text menu and selecting the lower third option of the sub menu. Click on the Controls tab and select text box 1. Now you can edit the text to whatever you want it to display. Create a new video track and set the source to the new track. Drag the text image to the track. The text will be displayed over the clip. Viewing this video will teach you how to easily and quickly add various text to your clips on Final Cut Pro.
Just updated your iPhone? You'll find new emoji, enhanced security, podcast transcripts, Apple Cash virtual numbers, and other useful features. There are even new additions hidden within Safari. Find out what's new and changed on your iPhone with the iOS 17.4 update.


Be the First to Comment
Share Your Thoughts